So far, I and my friend Jaeyoung have done several multicopter projects. We used some commercial drones or custom Quad which Jae build for the projects.
But actually for me, I haven’t got my own multicopter. Jae have one, but I have not build my own quad for my hobby. This is why I decided to build my first own quadcopter. This time, I tried to build quad on my own with some suggestion by Jae and other web posts and videos by RC hobbyist.
So this is what I built just few days a ago.

This post is about the way I build my quad and some useful tips for RC hobbyist who wanna make a own quad.
If you wanna watch a video, I referred to this video from Marionville Multirotors’s Youtube channel. He used same frame kit of mine.
Build My Own Quadcopter
Building a quad is not so difficult. Actually multicopter is very simple mechanical system. Only you need to build your own multicopter are motors, ESCs, and controller board. So you can make your quad very easily in just few minutes.
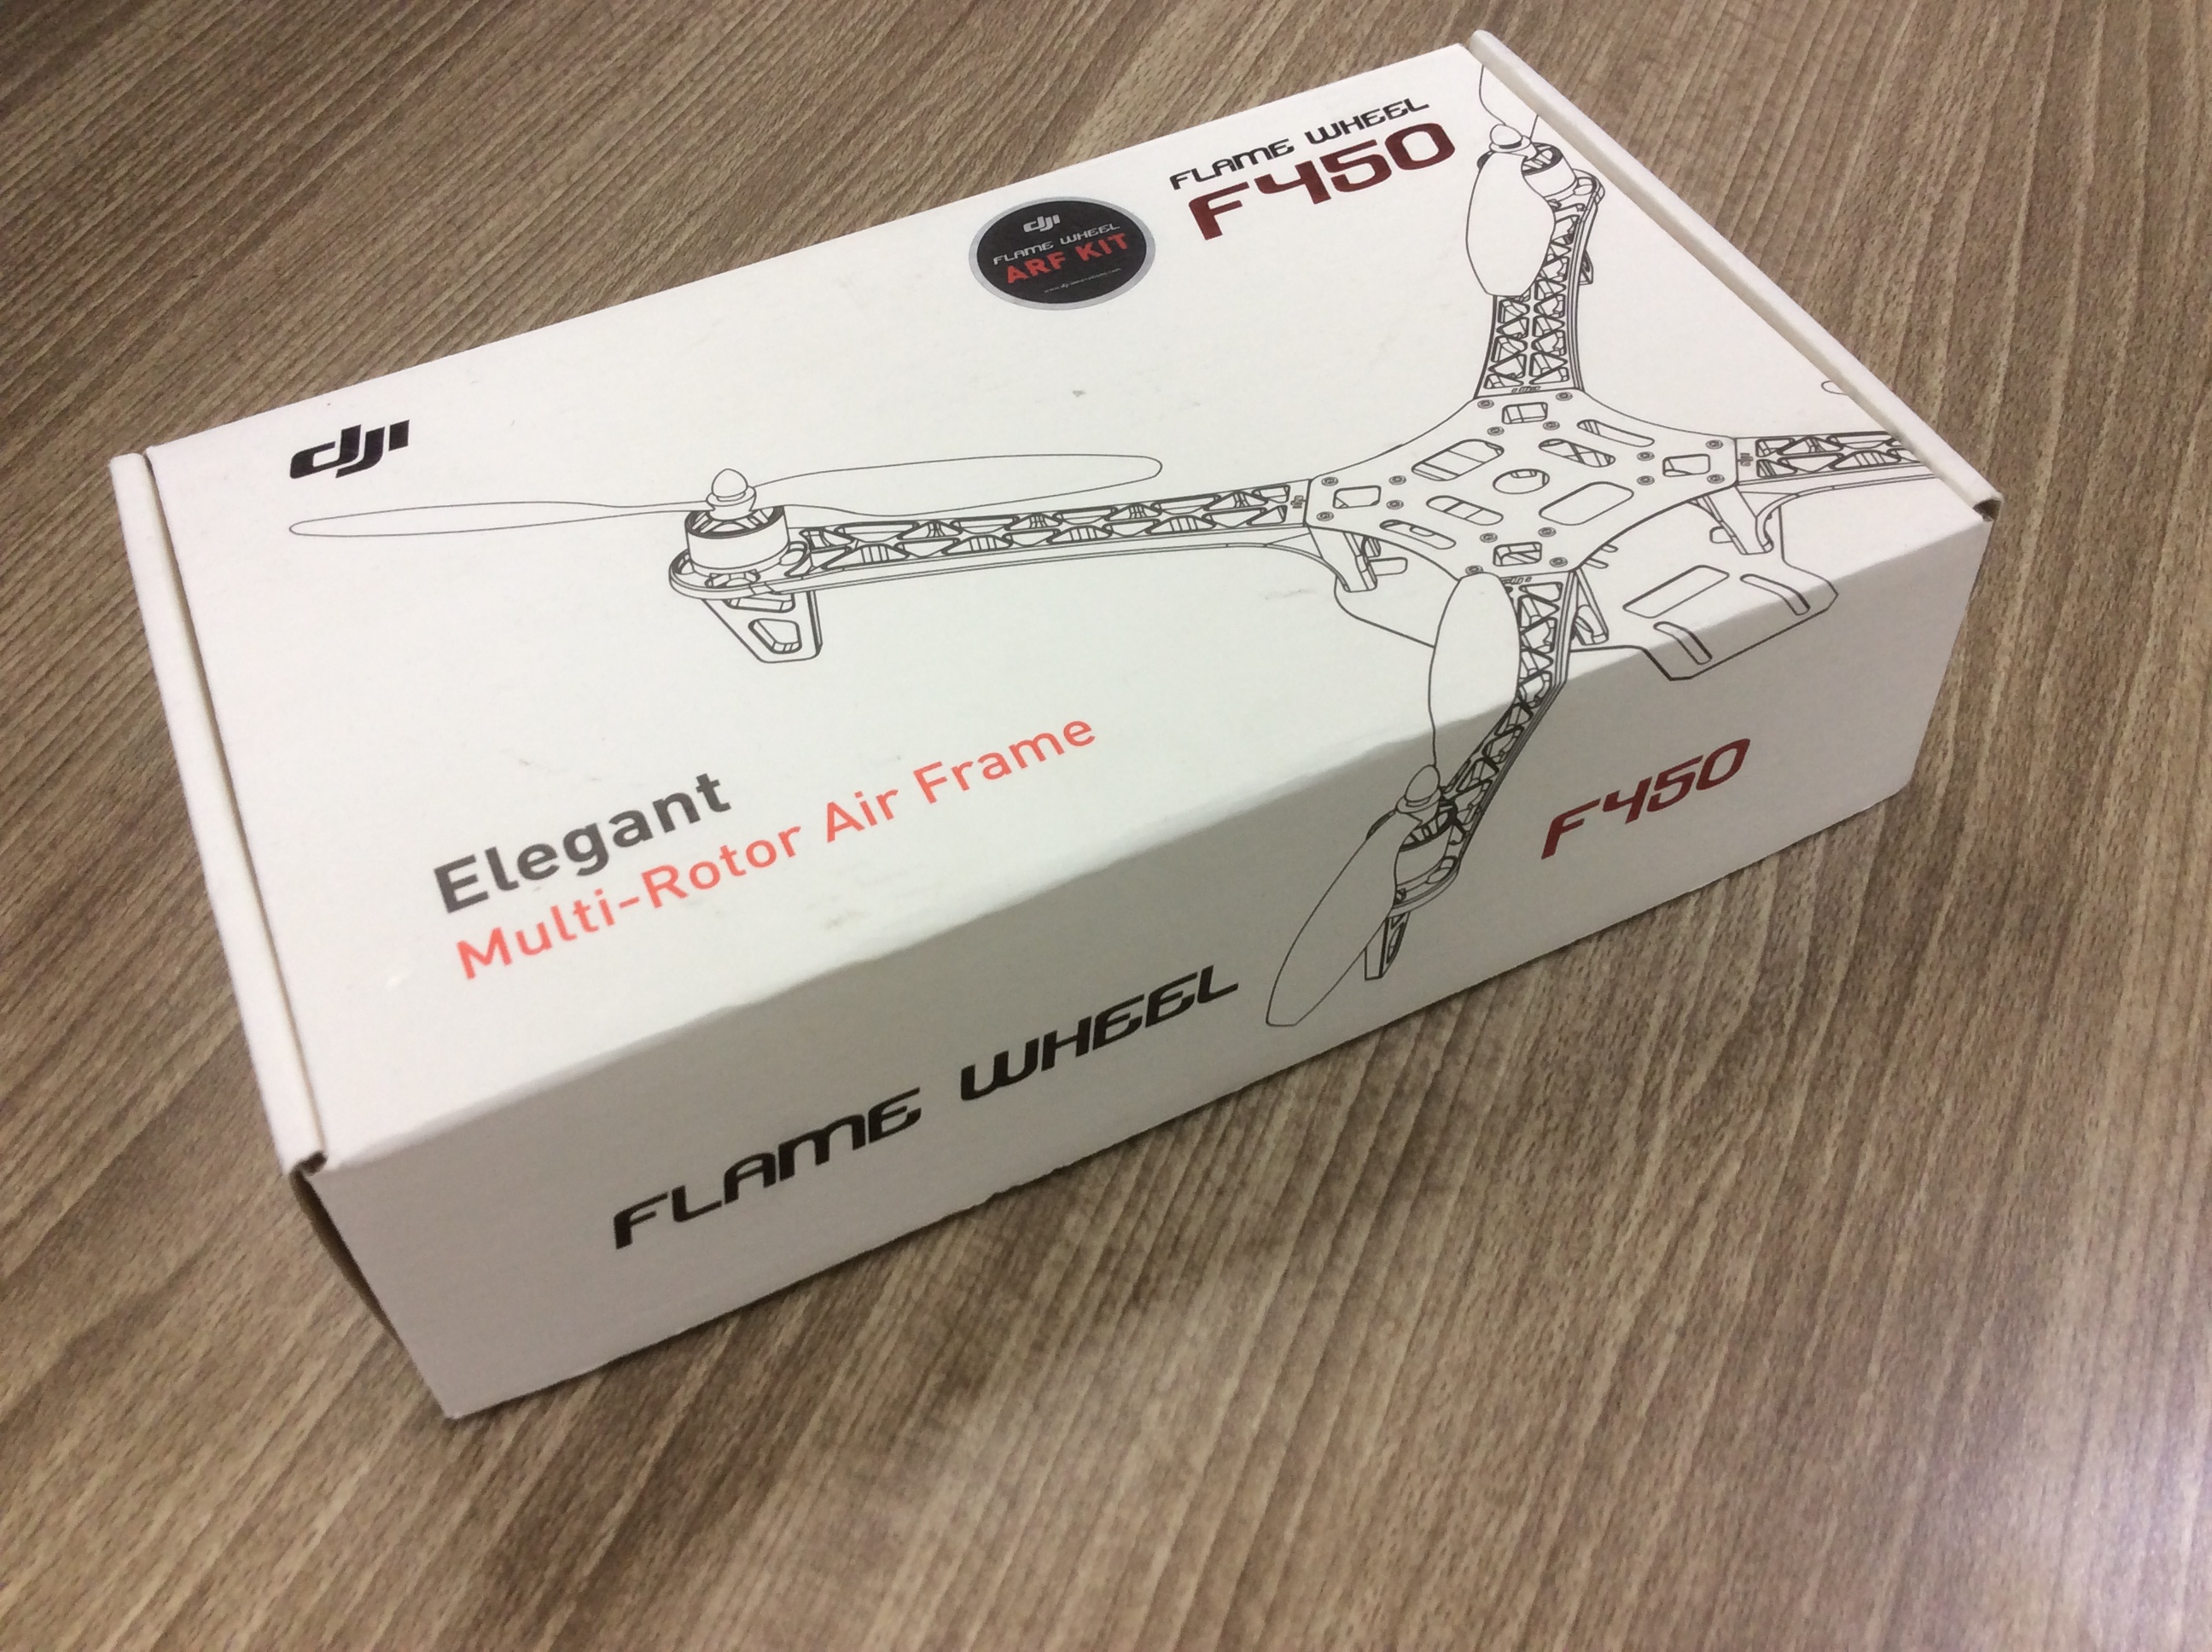
Jaeyoung always choose and buy every elements separately, because it’s much cheaper to buy each part separately than buying a frame kit. But this time I bought a frame kit of DJI which includes motors, ESCs, frame, and props. It because, frame kit’s elements are optimised for best performance.
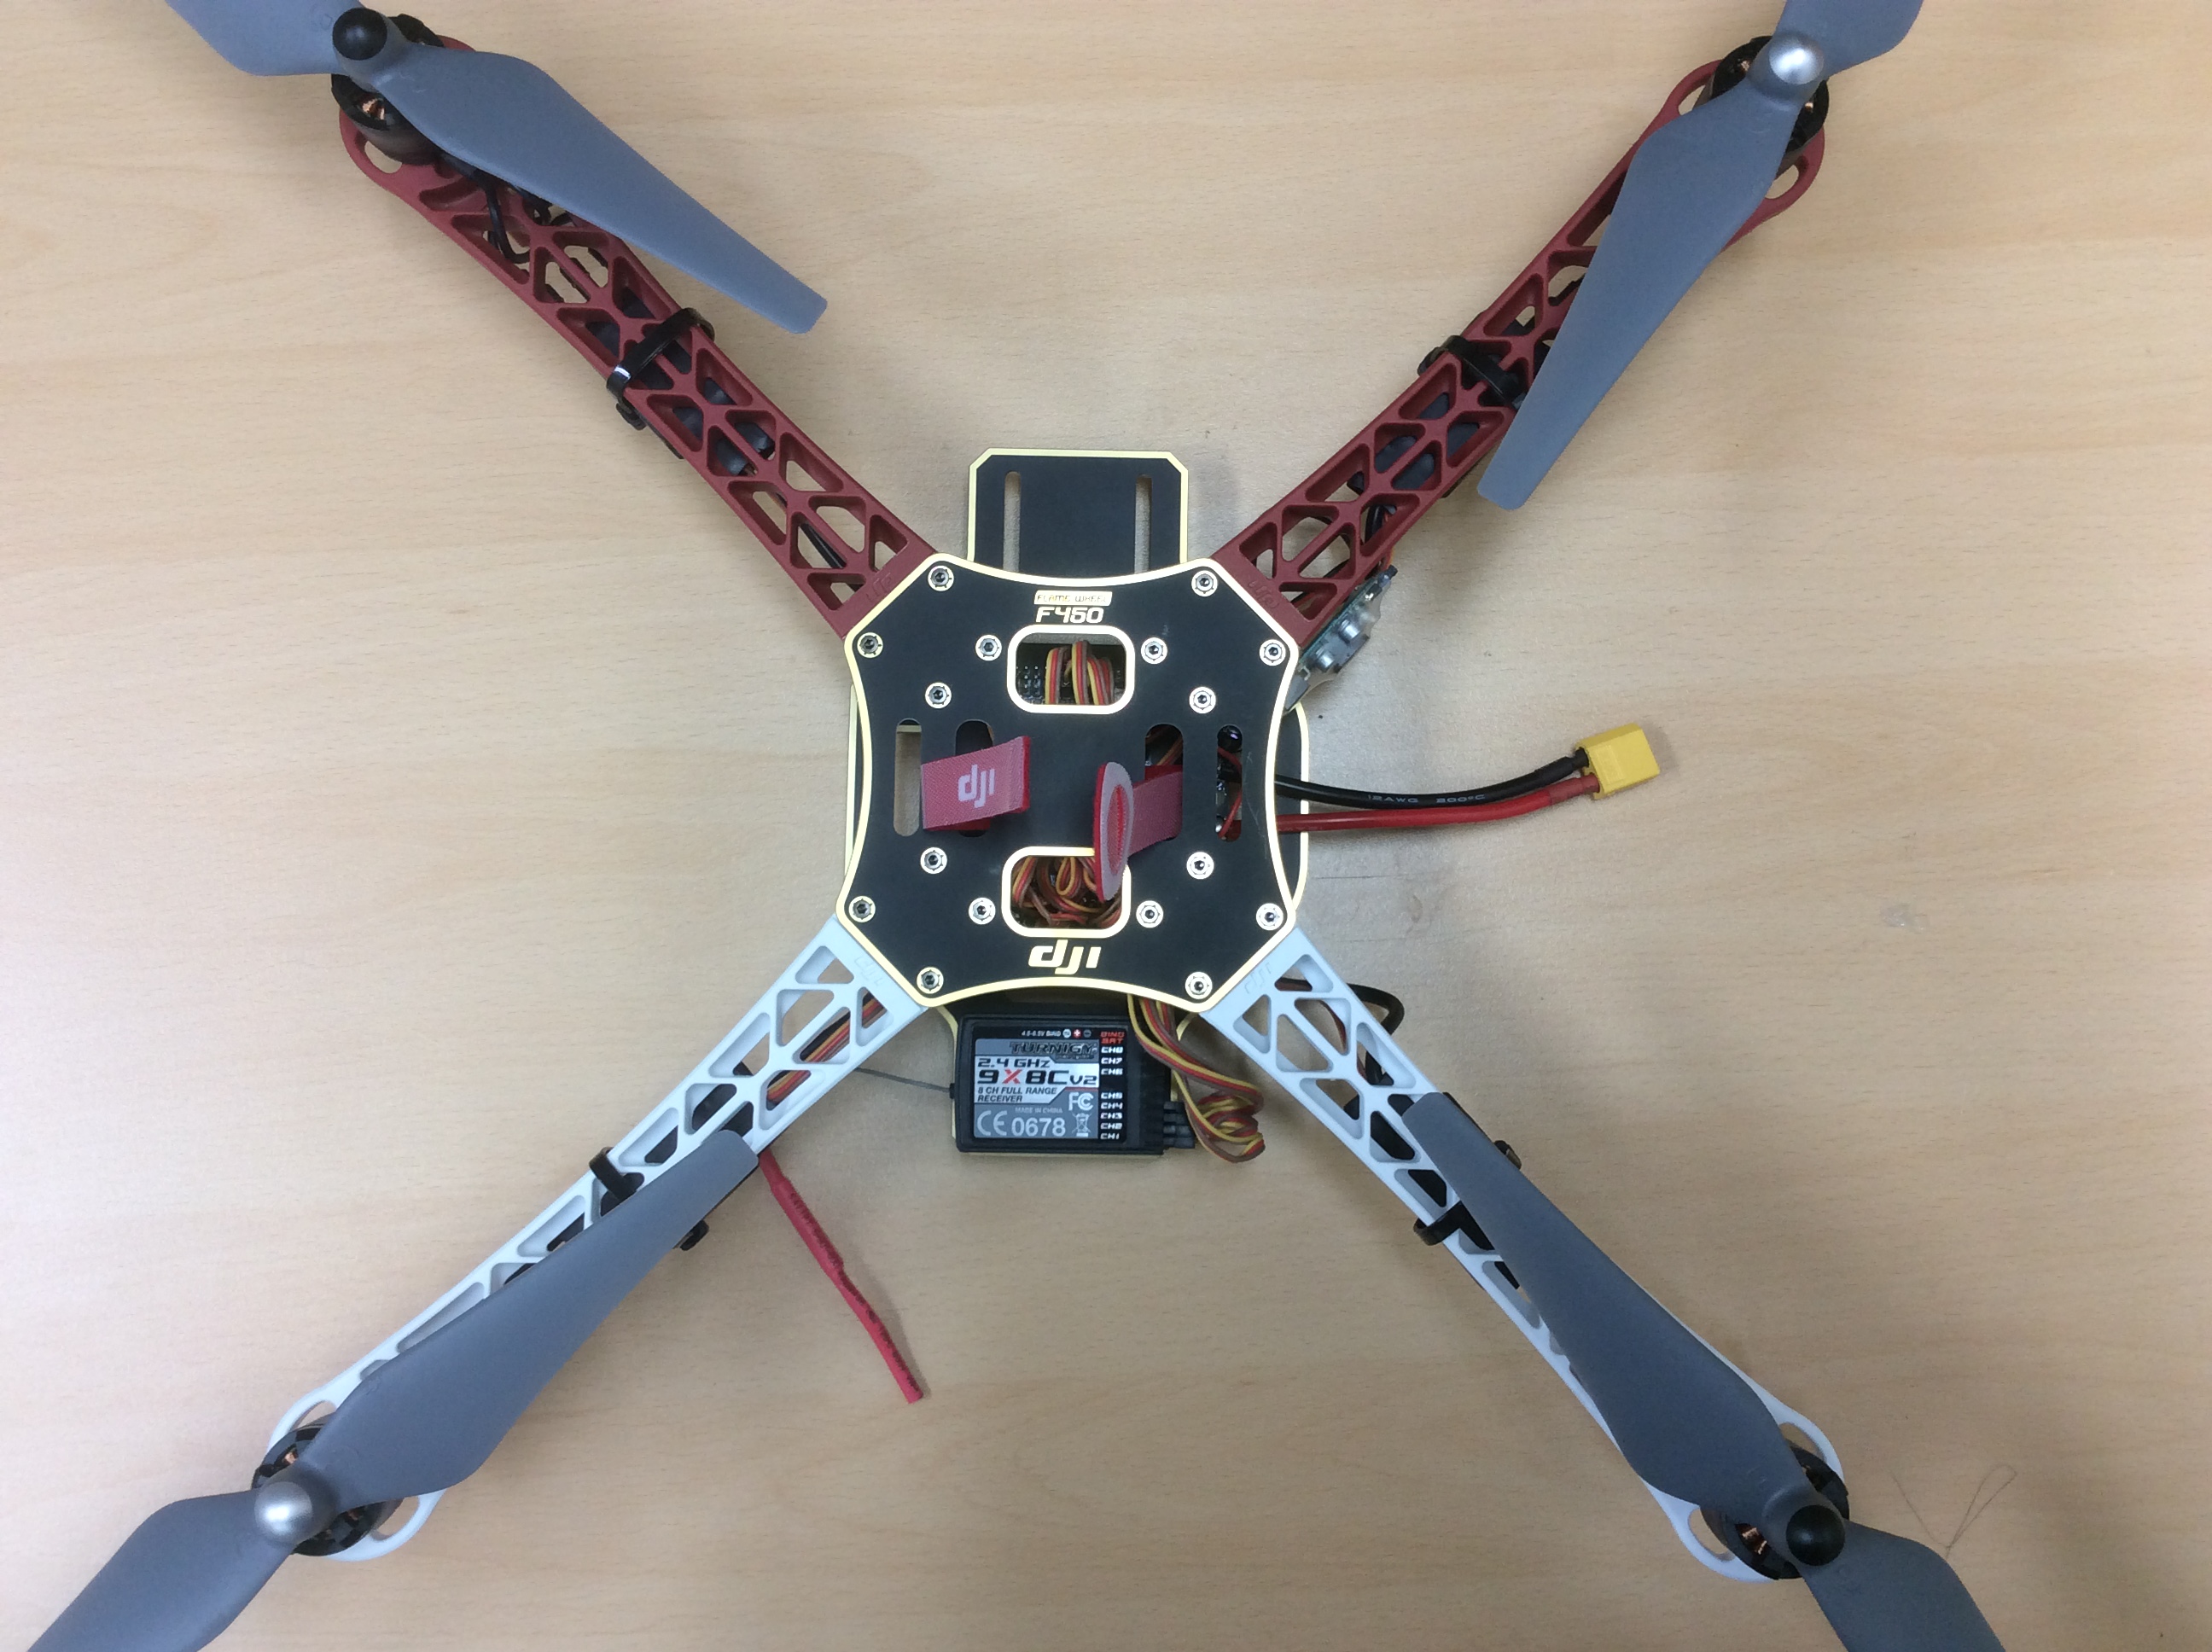
And this is what i bought. F450 Flame Wheel from DJI.
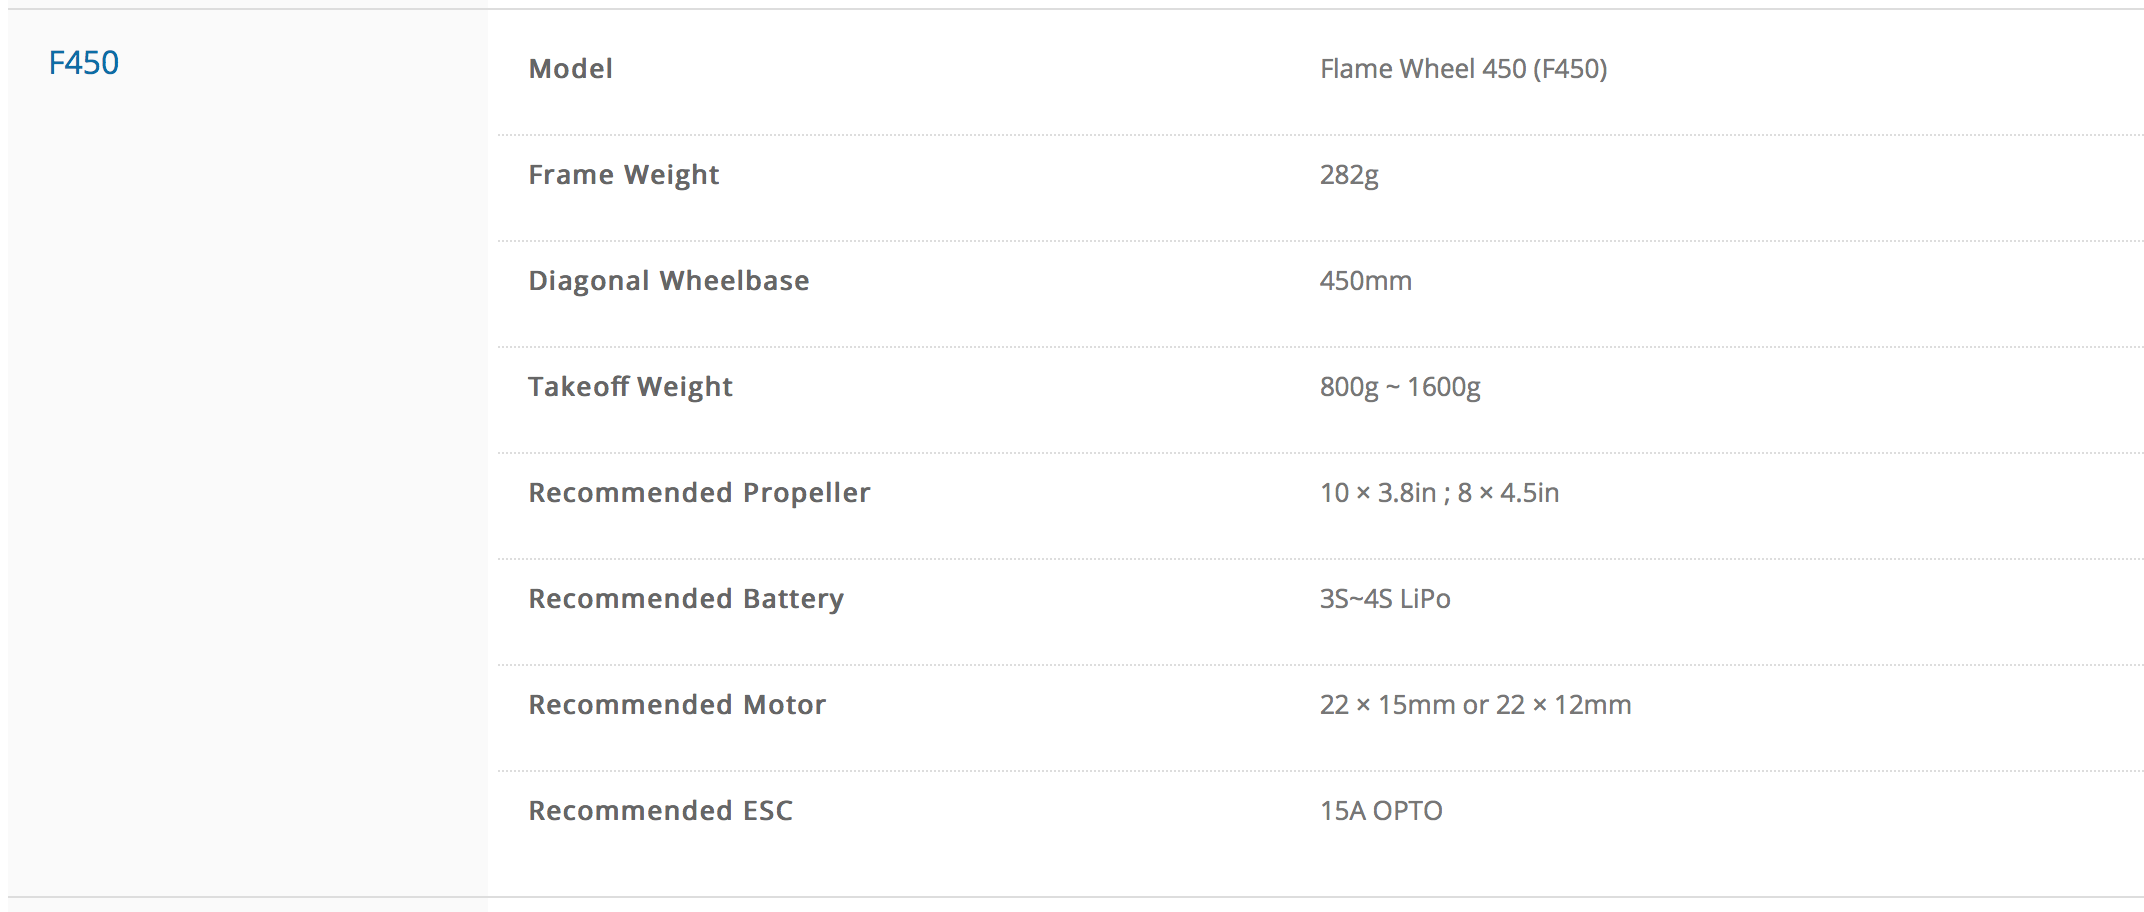
However, I did not use DJI’s NAZA flight controller. Instead I used HKPilot v2.5 board for flight controller. HKPilot is based on APM v2.5 architecture, and involves firmware of open source platform, ArduPilot. It’s much more affordable than NAZA, and even cheaper than APM from 3DR(which is a board of same ArduPilot platform), but have almost same performance with APM and NAZA controller.
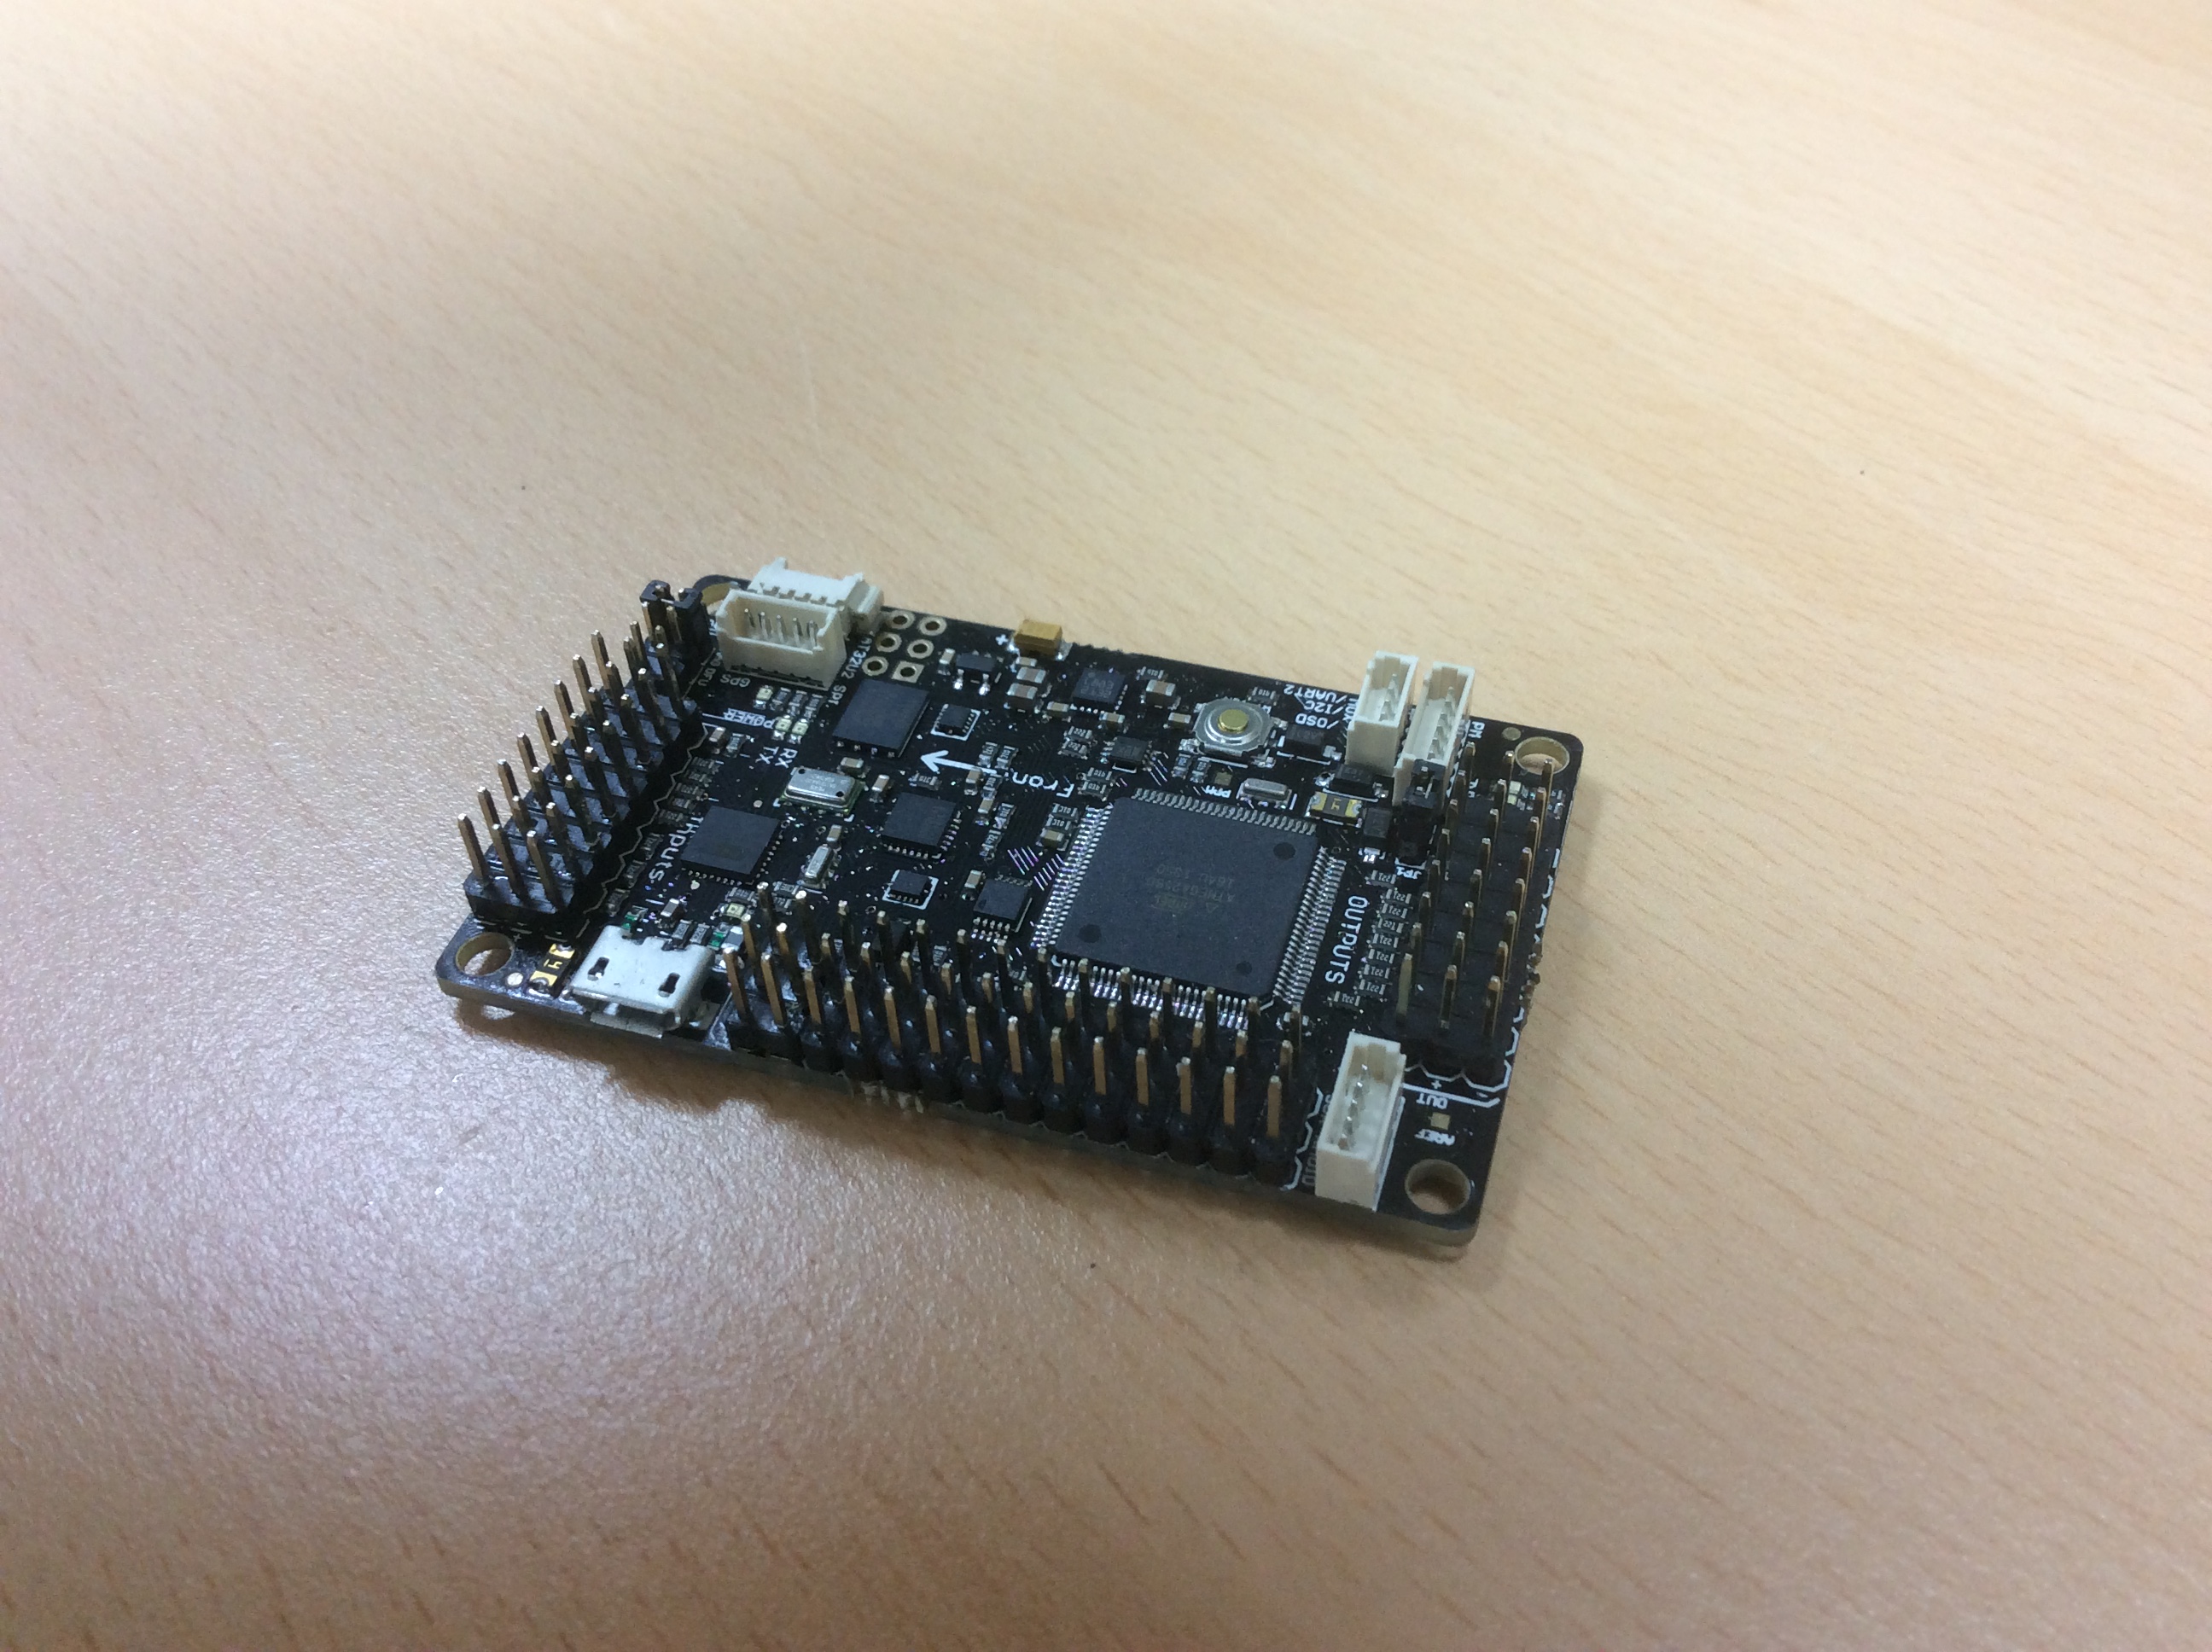
And other parts I prepared are RF Receiver, UBEC and Battery. If you want to use HKPilot or APM controller, you may need UBEC or power module because DJI’s ESCs are OPTO type which means that you need to supply power via power module to controller board.
Now, everything is on the table, and it’s time to start building a quad.
Steps
Before start to assemble each parts, it’s really important to check your manuals or instructions from your frame kit and controller.
Especially, check motor layouts carefully. Since I used ArduCopter platform, (multicopter platform of ArduPilot) I referred to a Wiki of ArduCopter and followed its motor layout.
Each steps are same as below.
- Firstly, assemble motors with arms. Check each motors’ rotating directions.

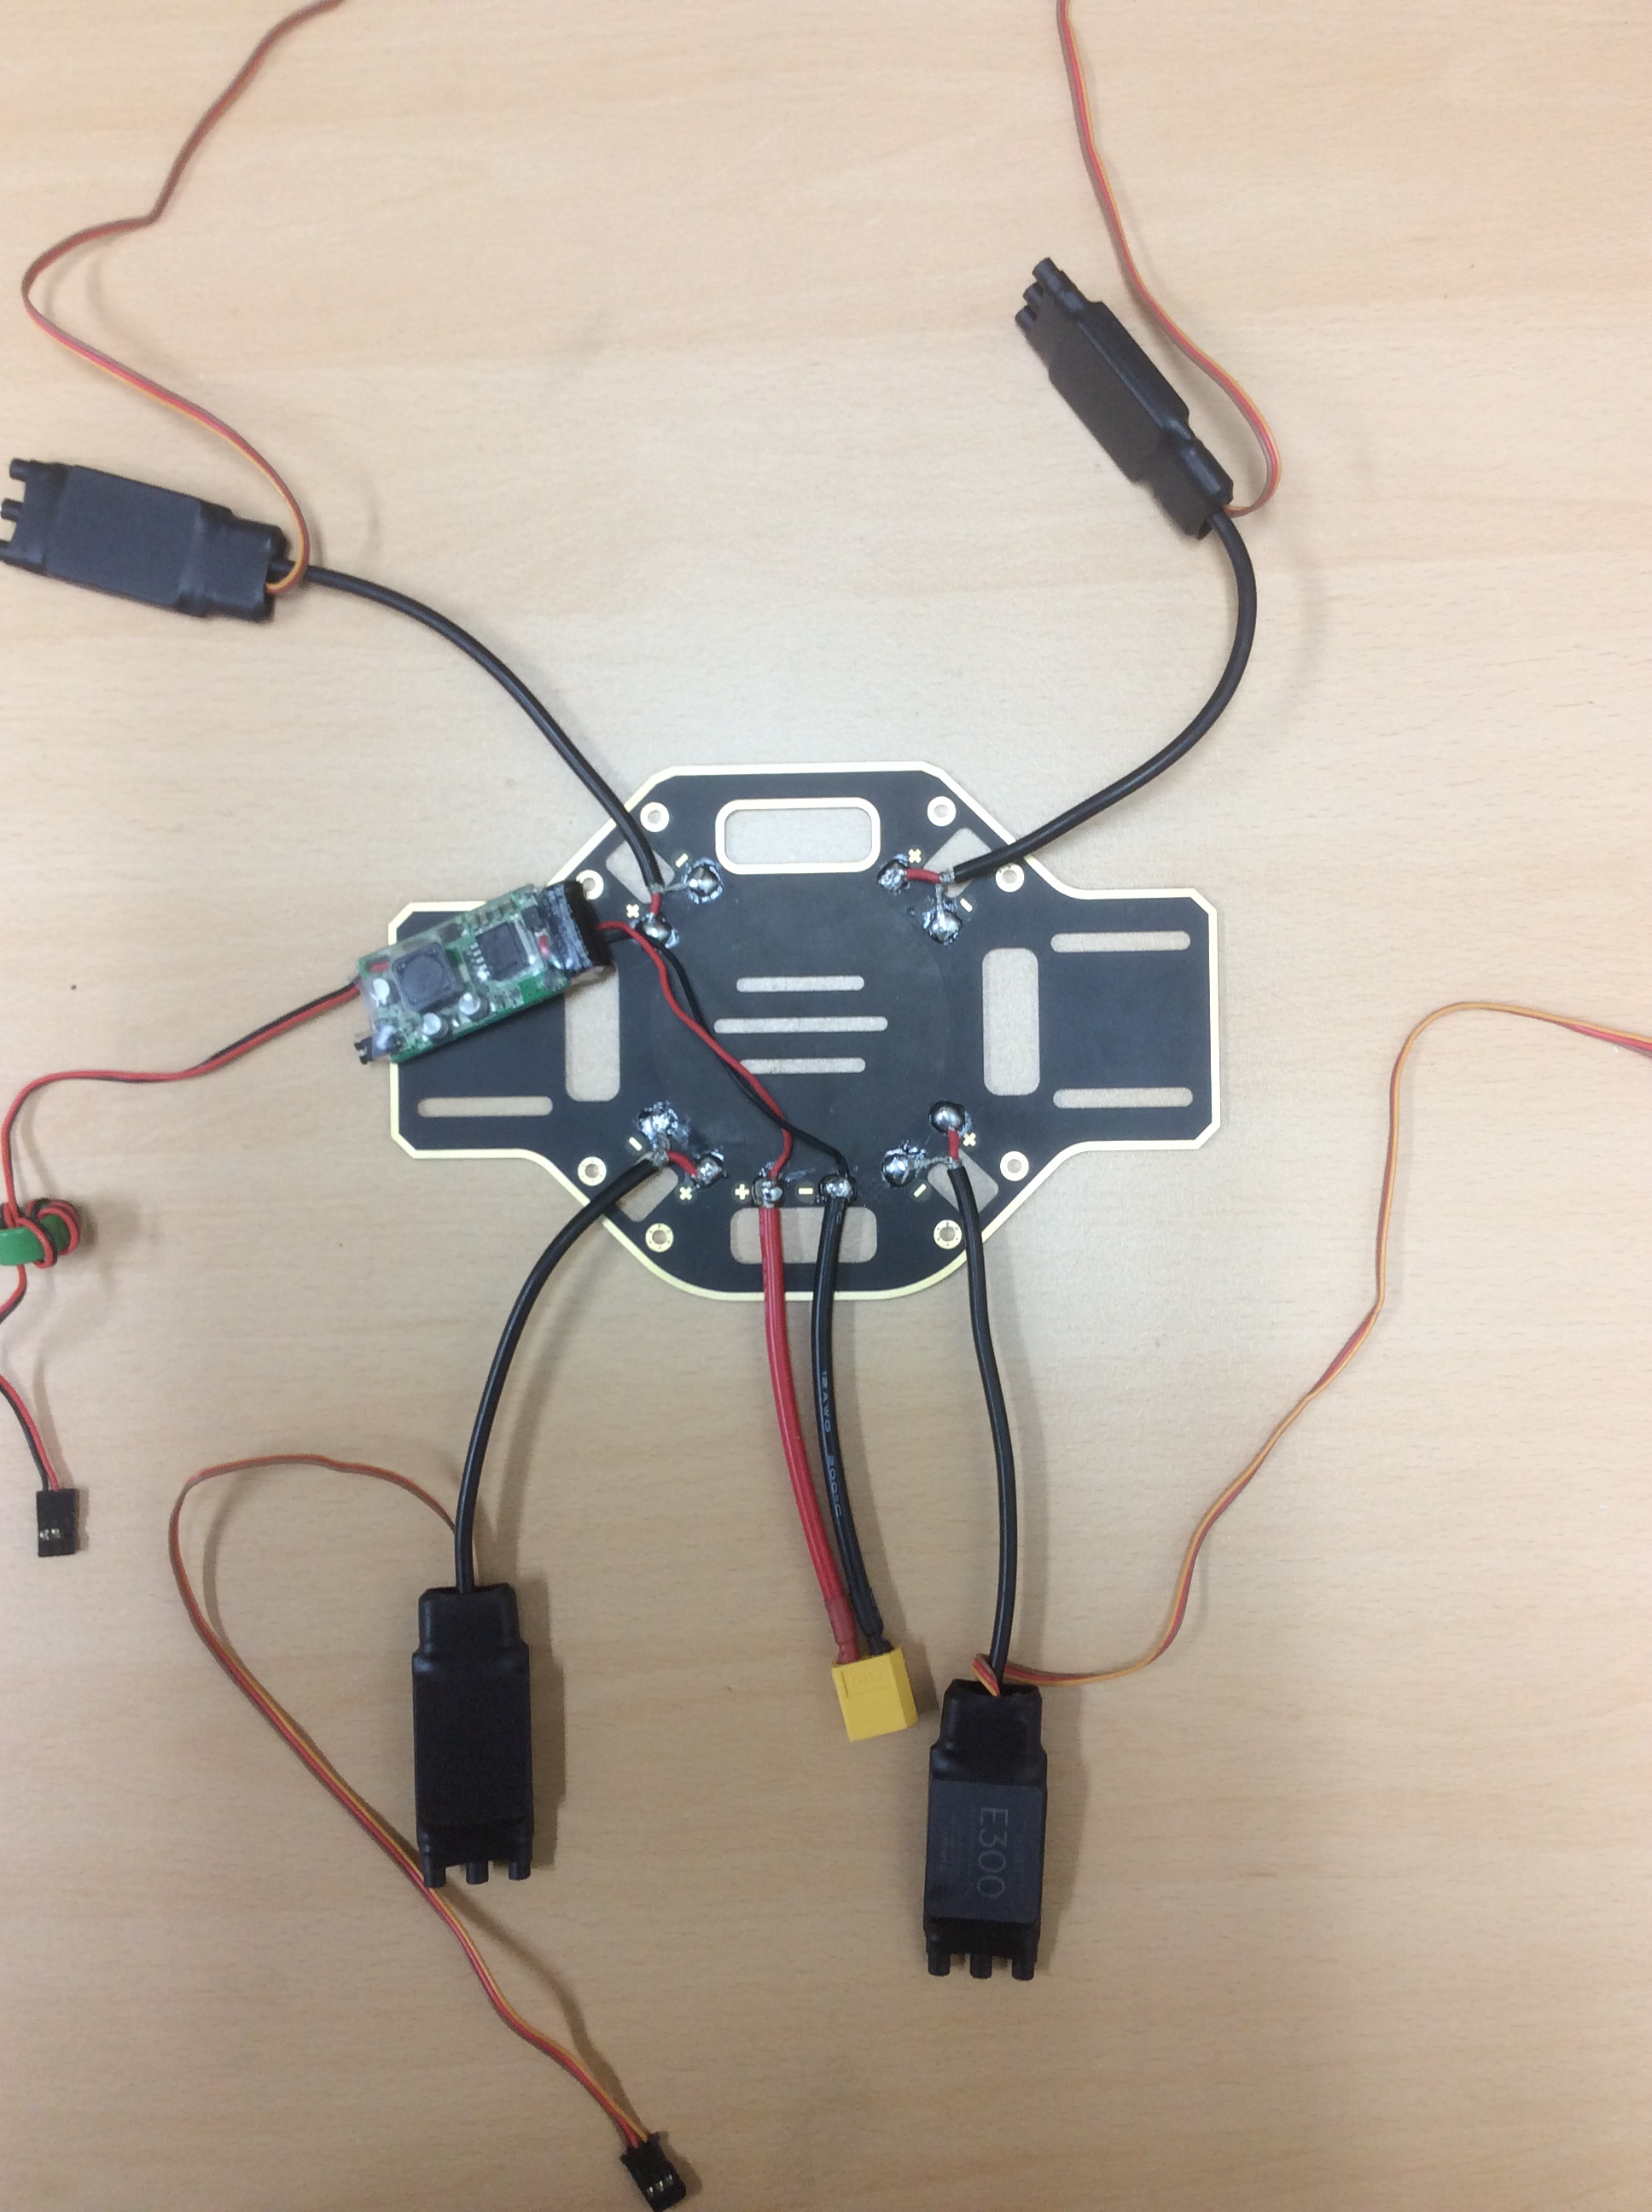
- Secondly, solder ESCs with main plate if the plate has power circuit inside. (F450 Kit’s plate involves power circuit)
Surely, if you do not want to solder ESCs with plate, you can use power distribution board or cables instead. This is the way which Jae prefers. If you solder ESCs with main plate, it would be difficult to repair or replace elements after your quads crash or some elements goes wrong. But this time I solder every electrical parts to make my quad more neat.After soldering ESCs, solder battery cable and UBEC as well. In this step, you may need to cut or adjust lengths to make your cables more fitted.
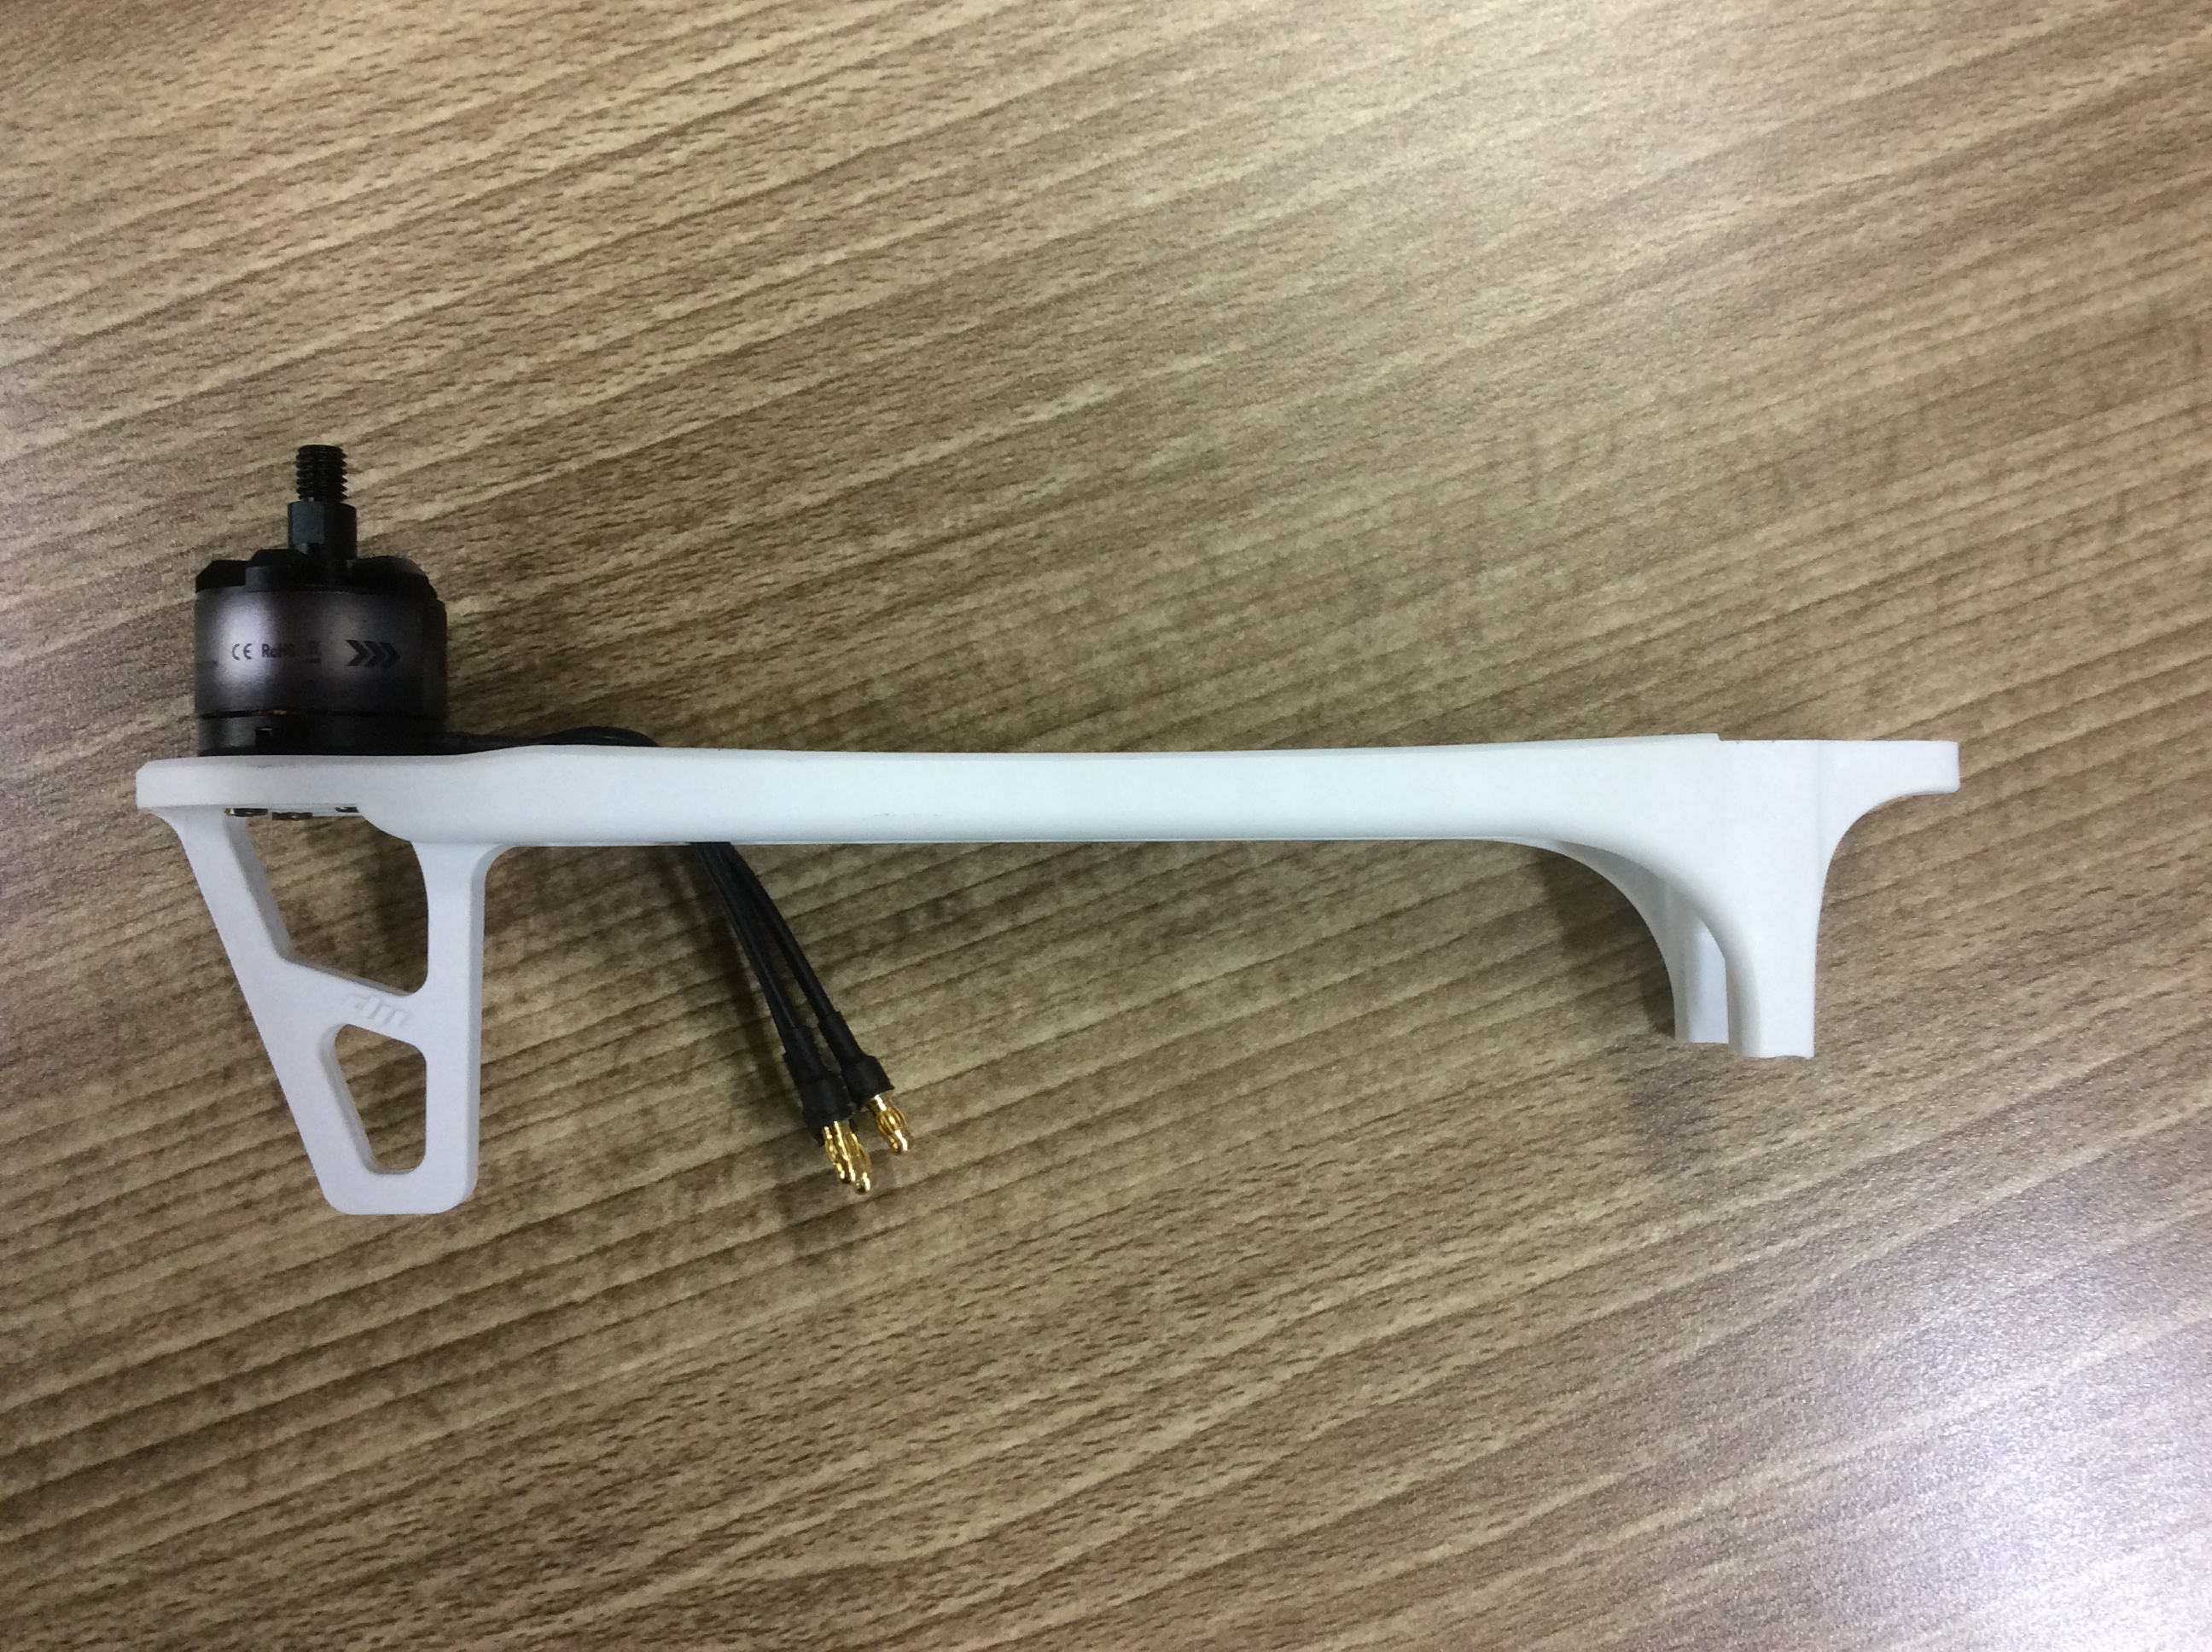
- Then assemble each arms with plate. Check your motors’ directions again. I prefer to assemble red arms in fore and white arms in rear.
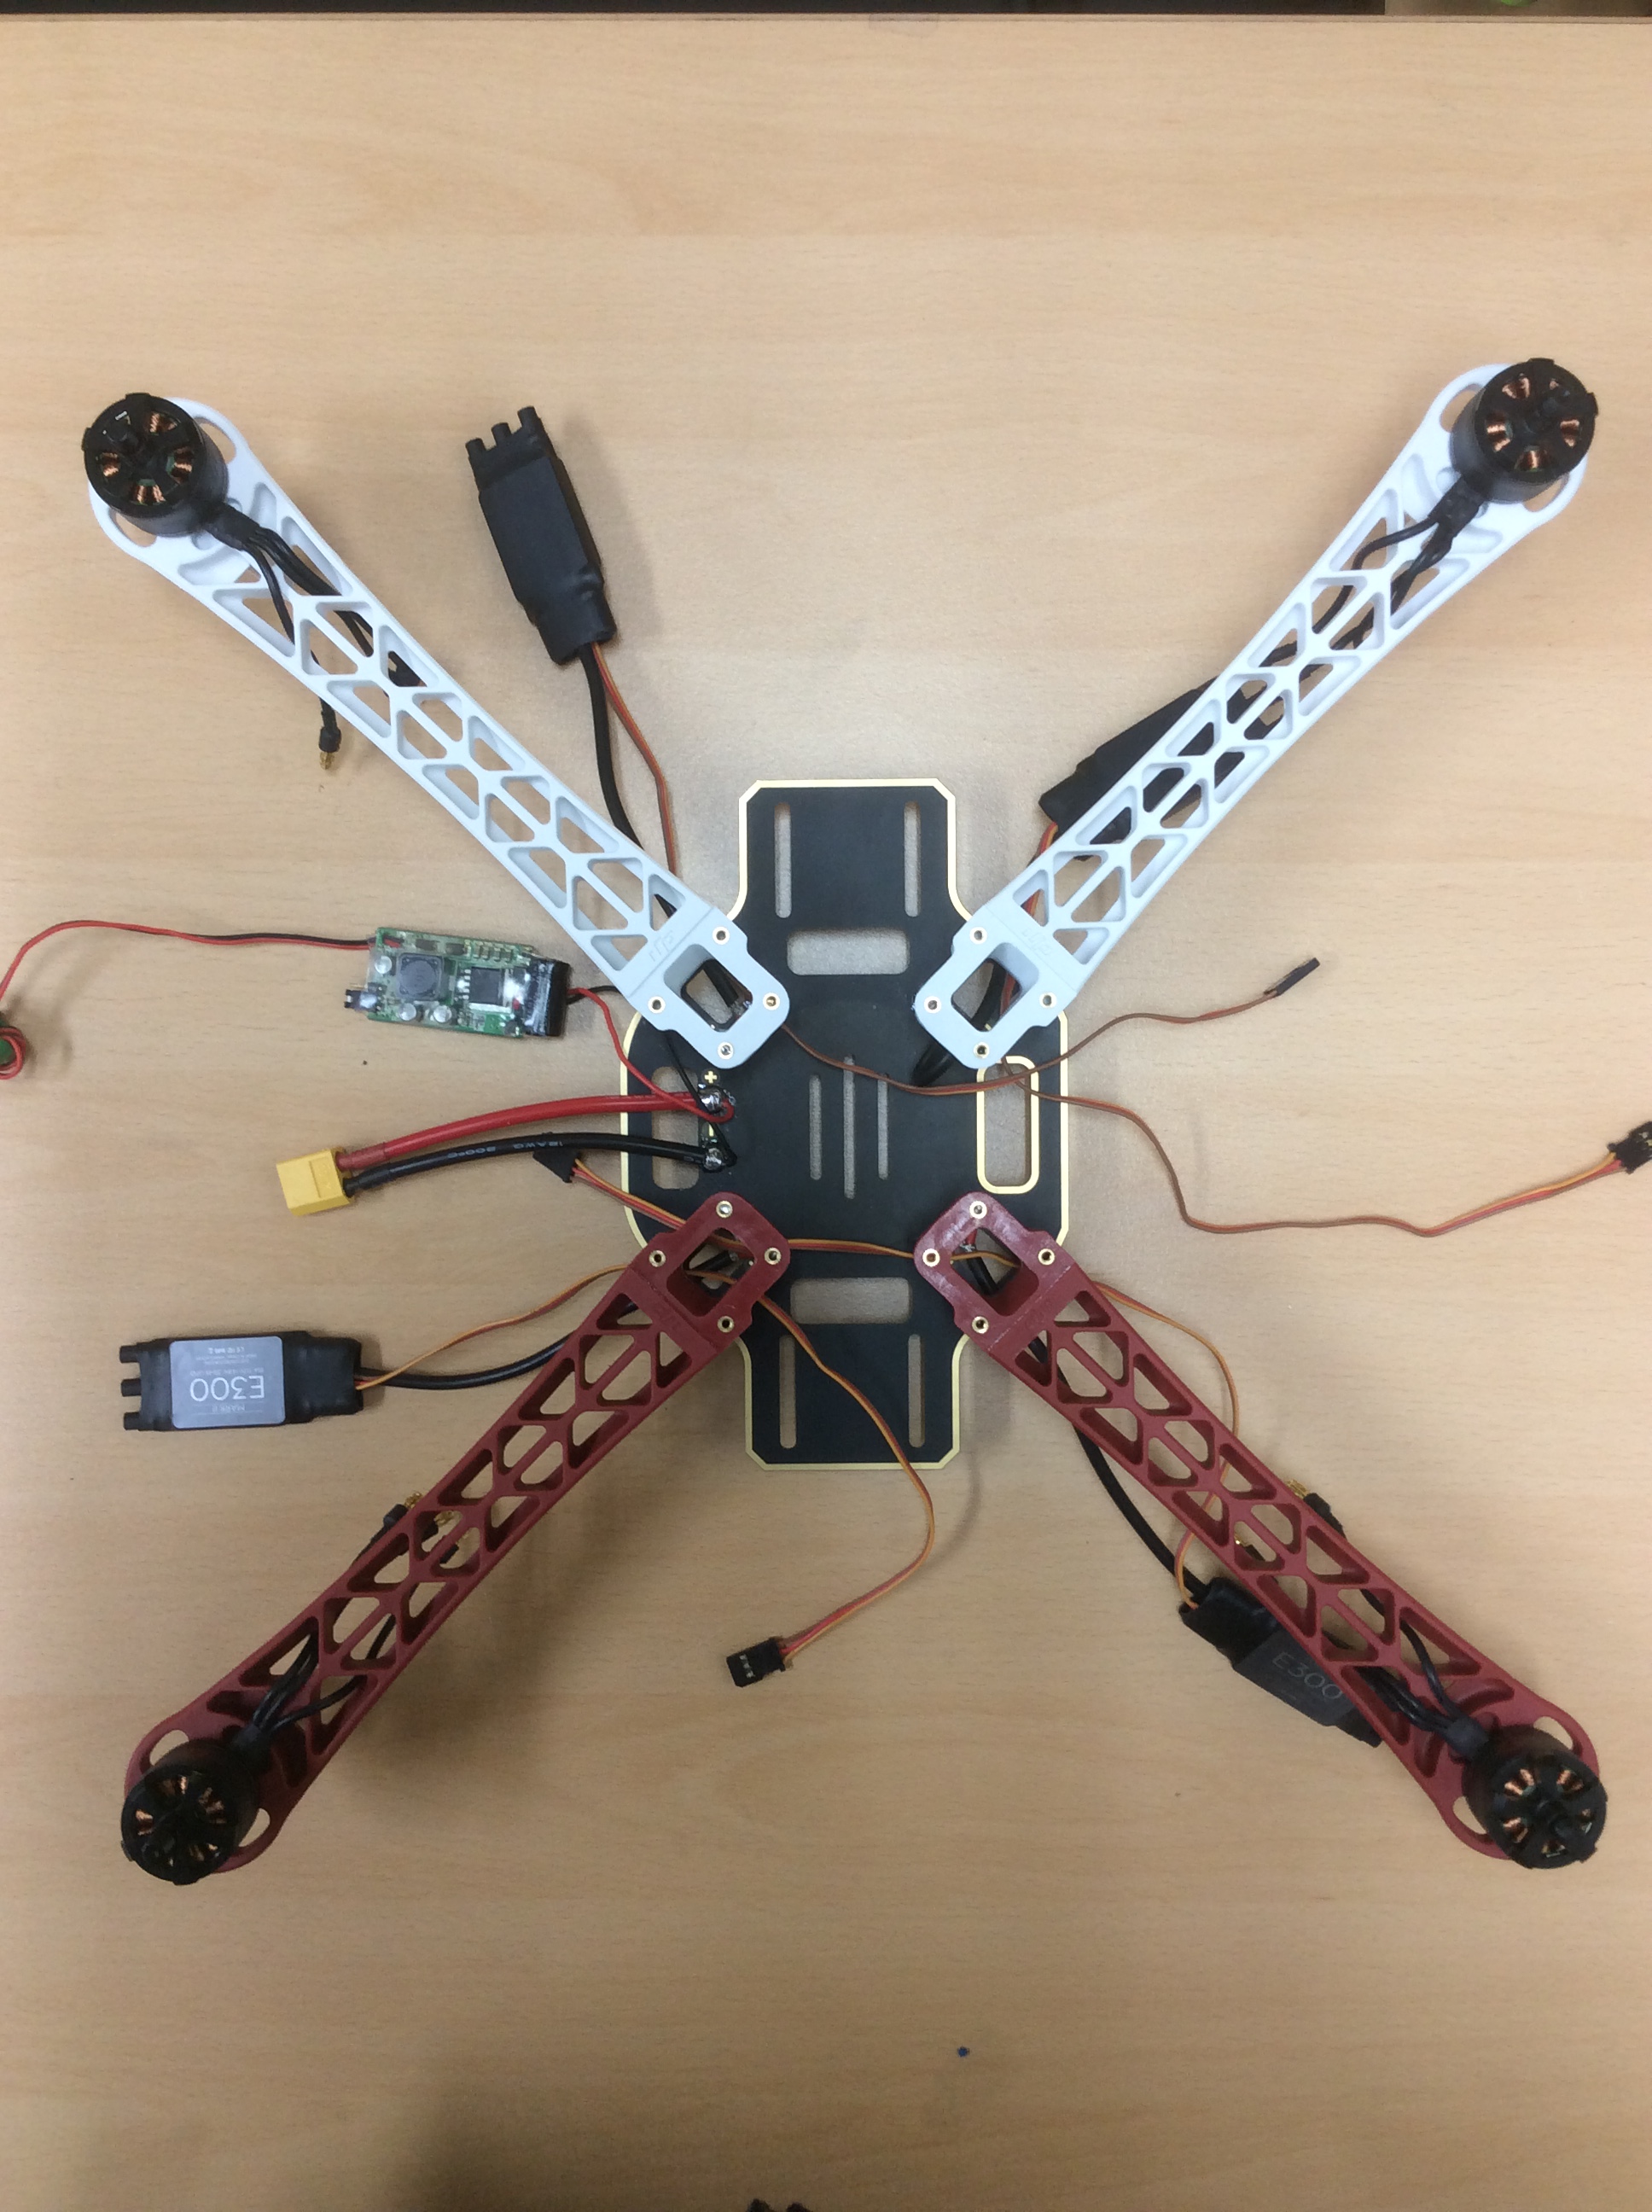
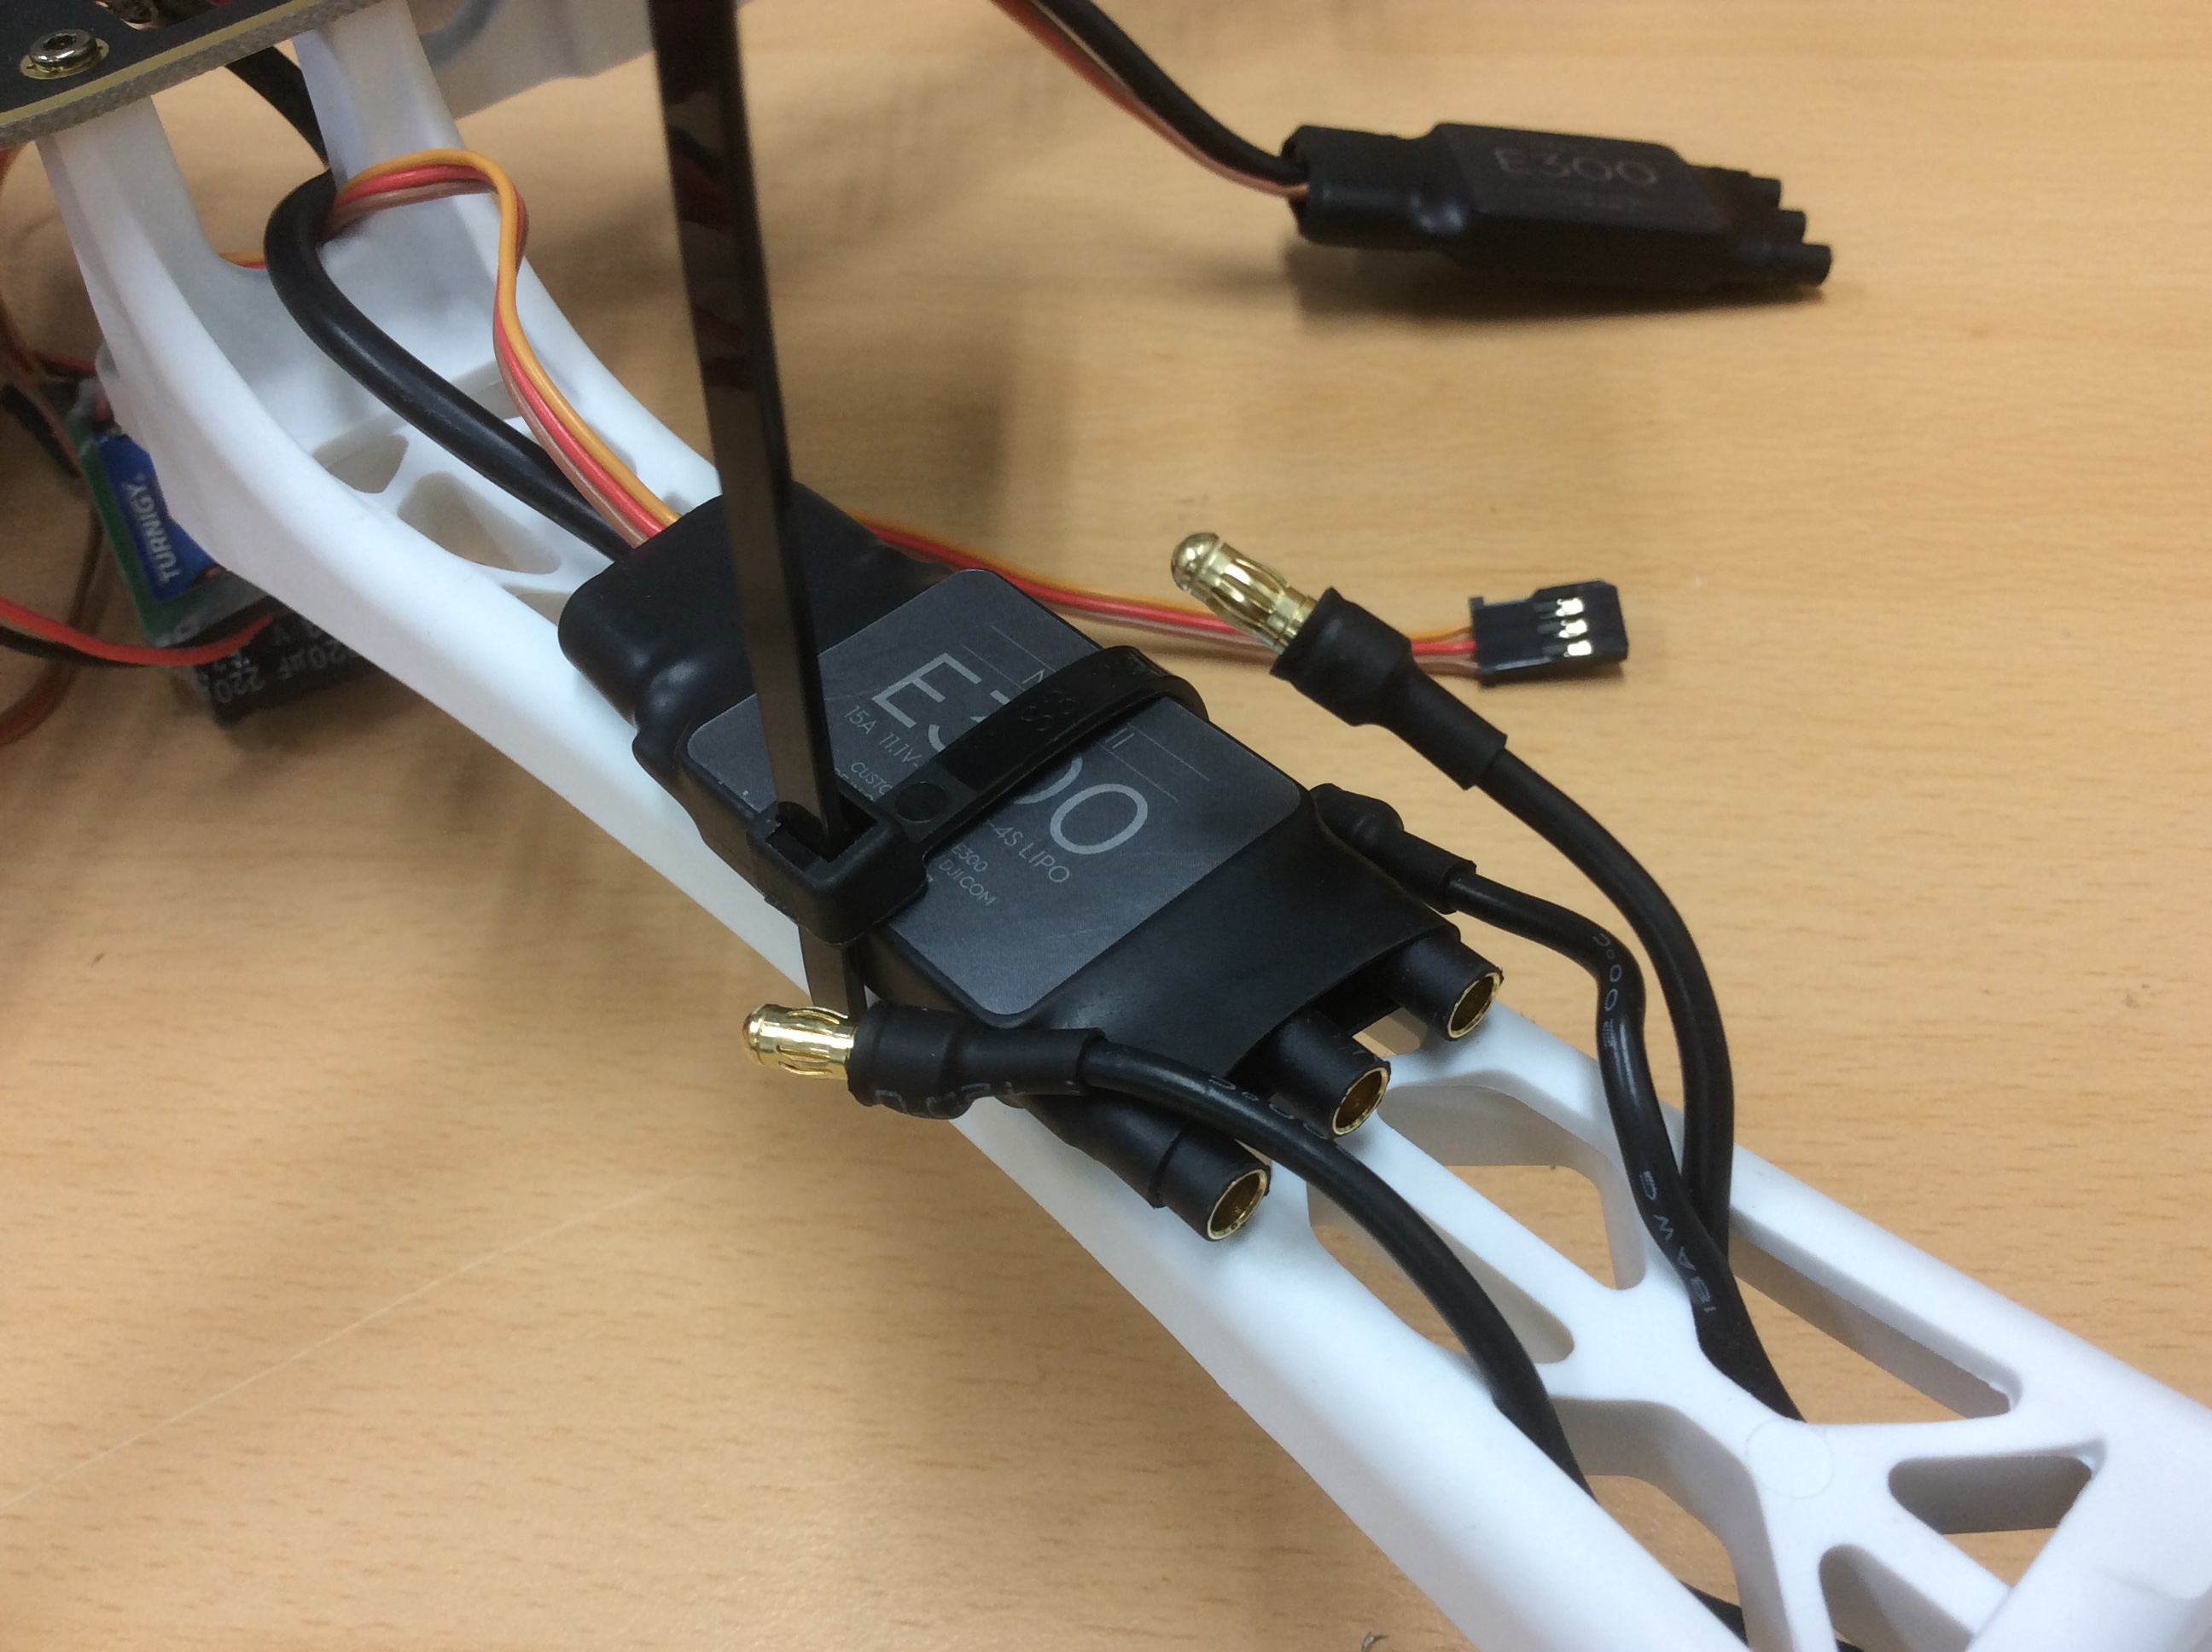
- After assemble arms on plate, fix each ESCs with arms. Fix UBEC module as well.
- Now it’s time to fix your controller on main plate. I used double-sided adhesive tape. Also you are supposed to fix RF Receiver on the plate. And This is what it looks like.
(Image)
- And connect ESCs and RF Receiver with controller board using cables. You may need to refer to a instruction and motor layout.
-
Now, Connect UBEC with controller to supply power. For HKPilot, power line is as below.
(Image)
- It’s Almost done. Upload firmware to controller. For ArduPilot, you can use Mission Planner. And follow each step of setup wizard.
(Image)
- And binding Remote controller with your RF receiver.
-
Then, connect battery and check whether all motor work propriety. In this step, you should check motors rotating direction. If motor does not rotate in proper direction, change power connections. (There would be three lines from your motor. Change two of them and connect to the other connector and check the direction again.)
-
Okay! now it’s almost done. Assemble top plate.
- And fly your quad for test flight. If you are using DJI flame wheel, you don’t need to tune controller gains. (At least in my case, I didn’t adjust any gain for my quad, but it flies quite well.) However, if you are using other kits or parts you chose personally, you may need to adjust controller gains.
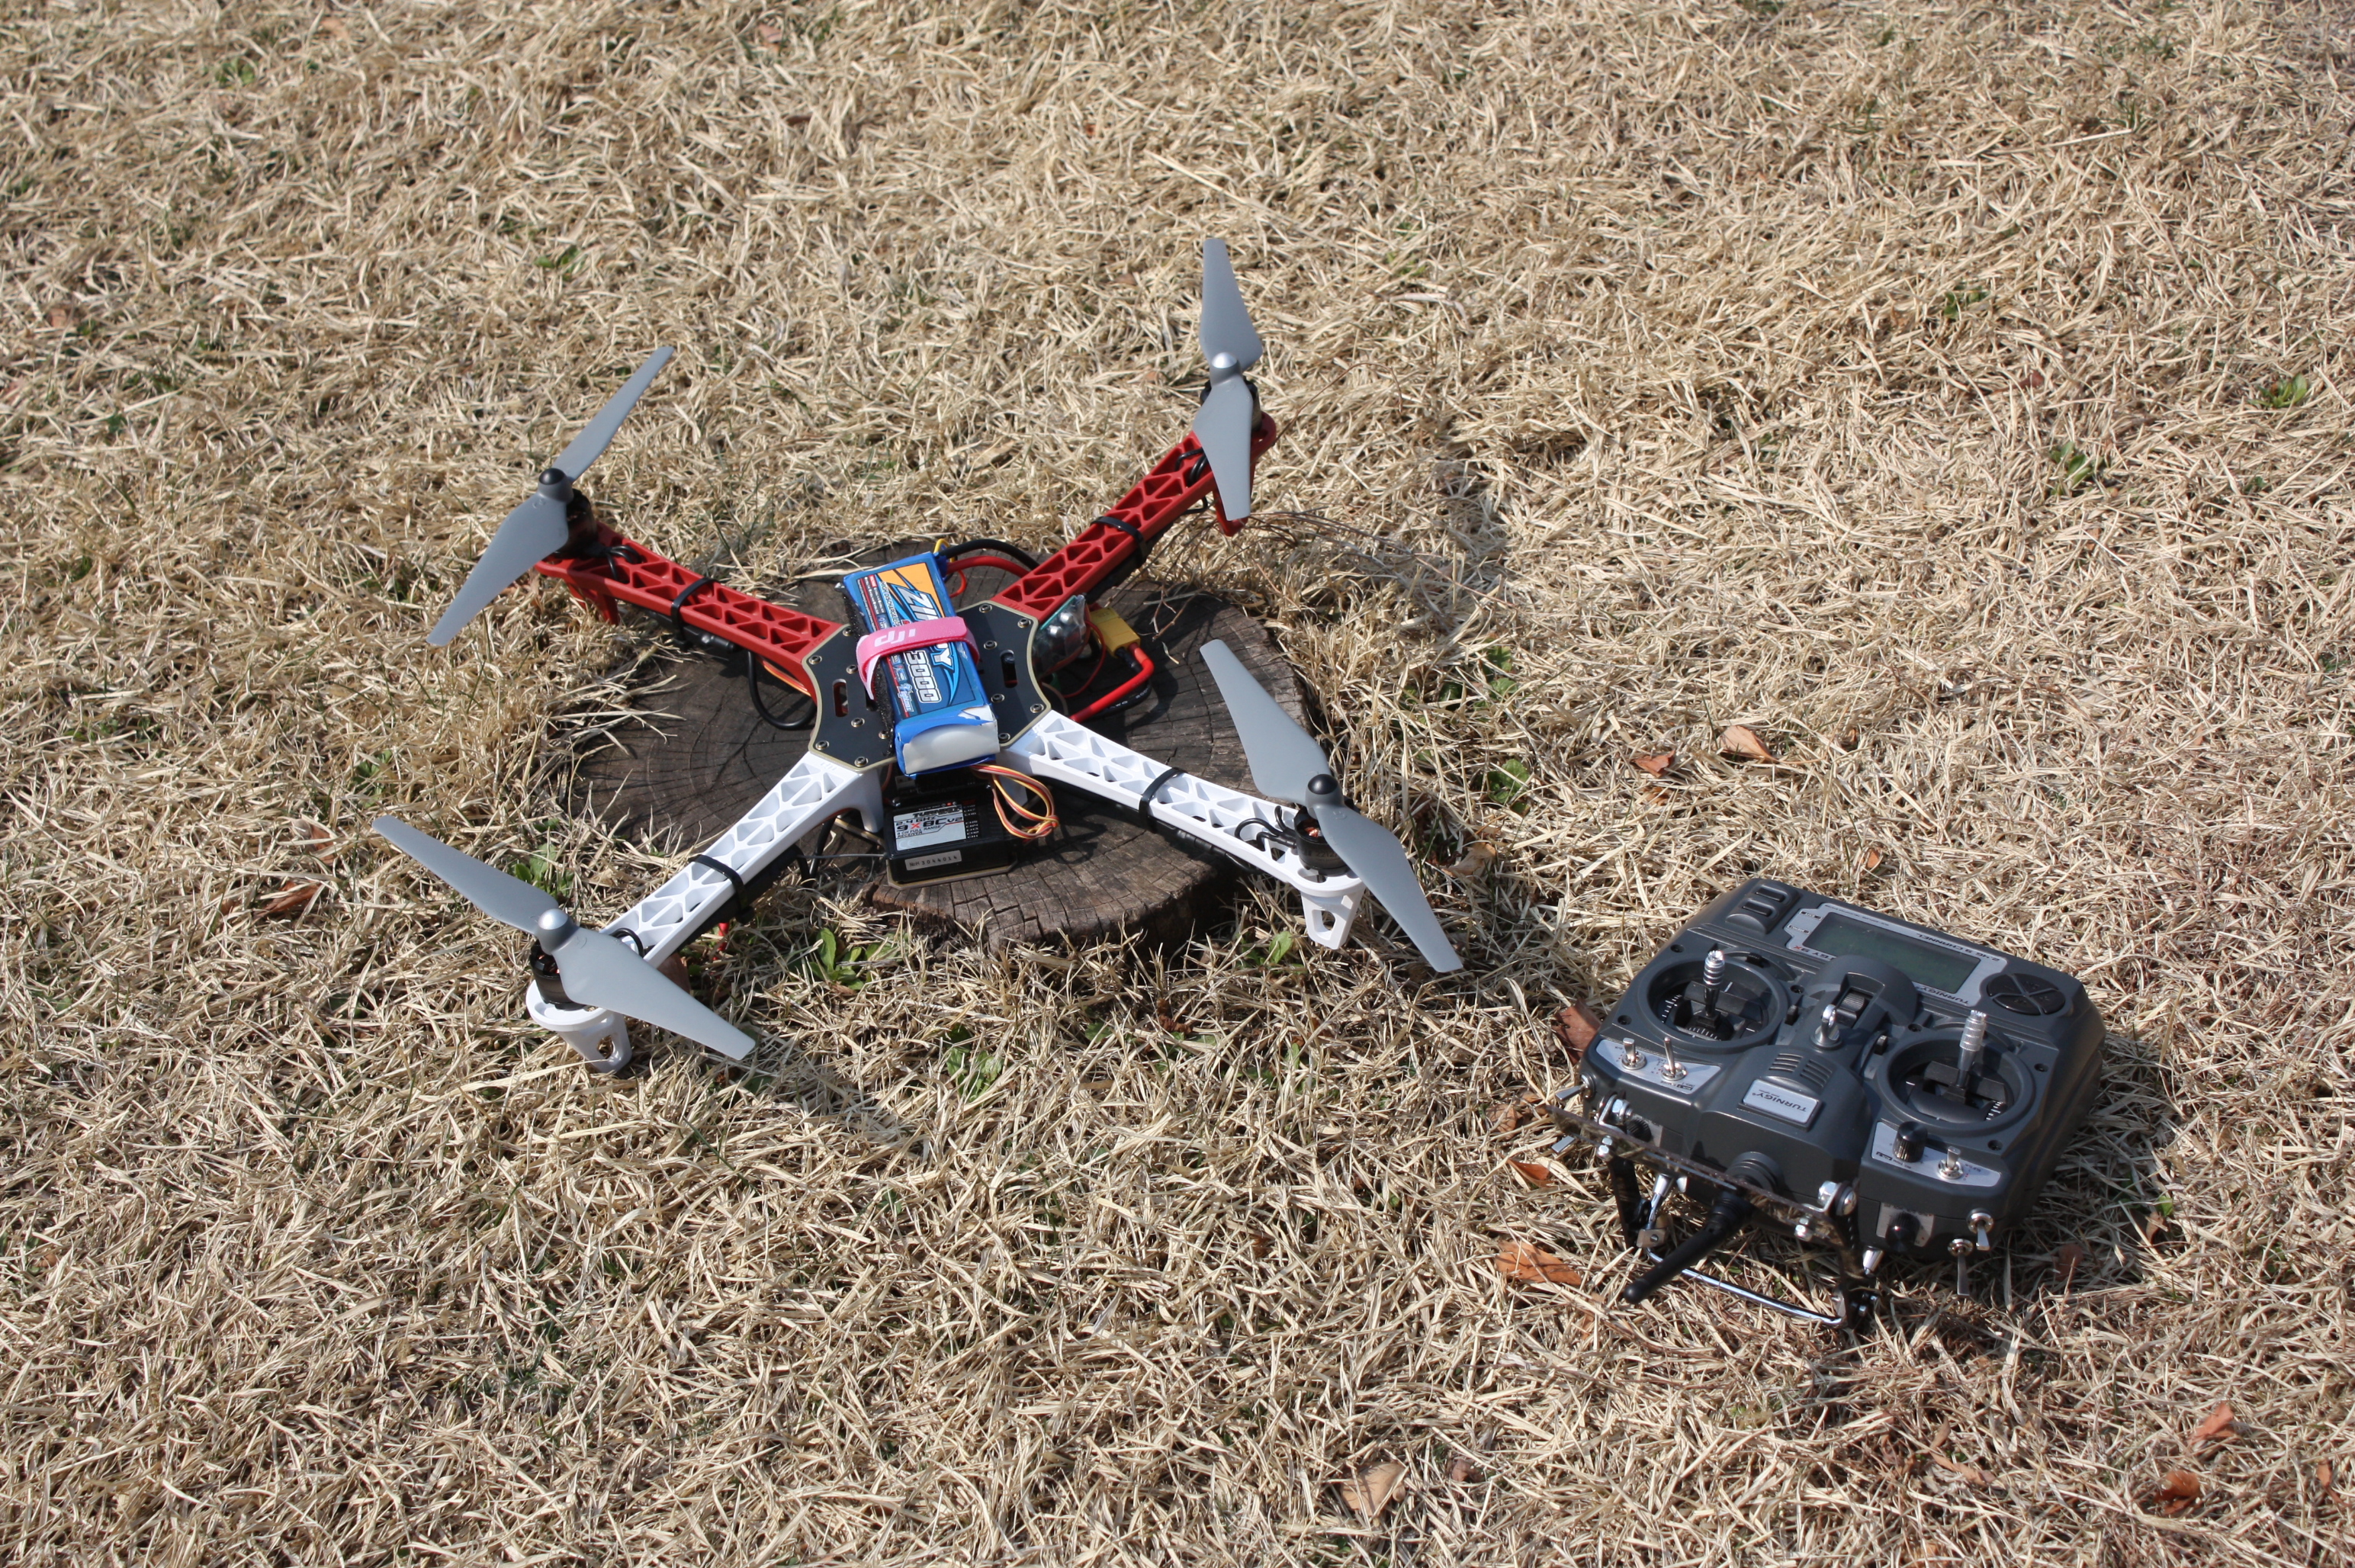
- And have a fun with your quad 🙂
Epilogue
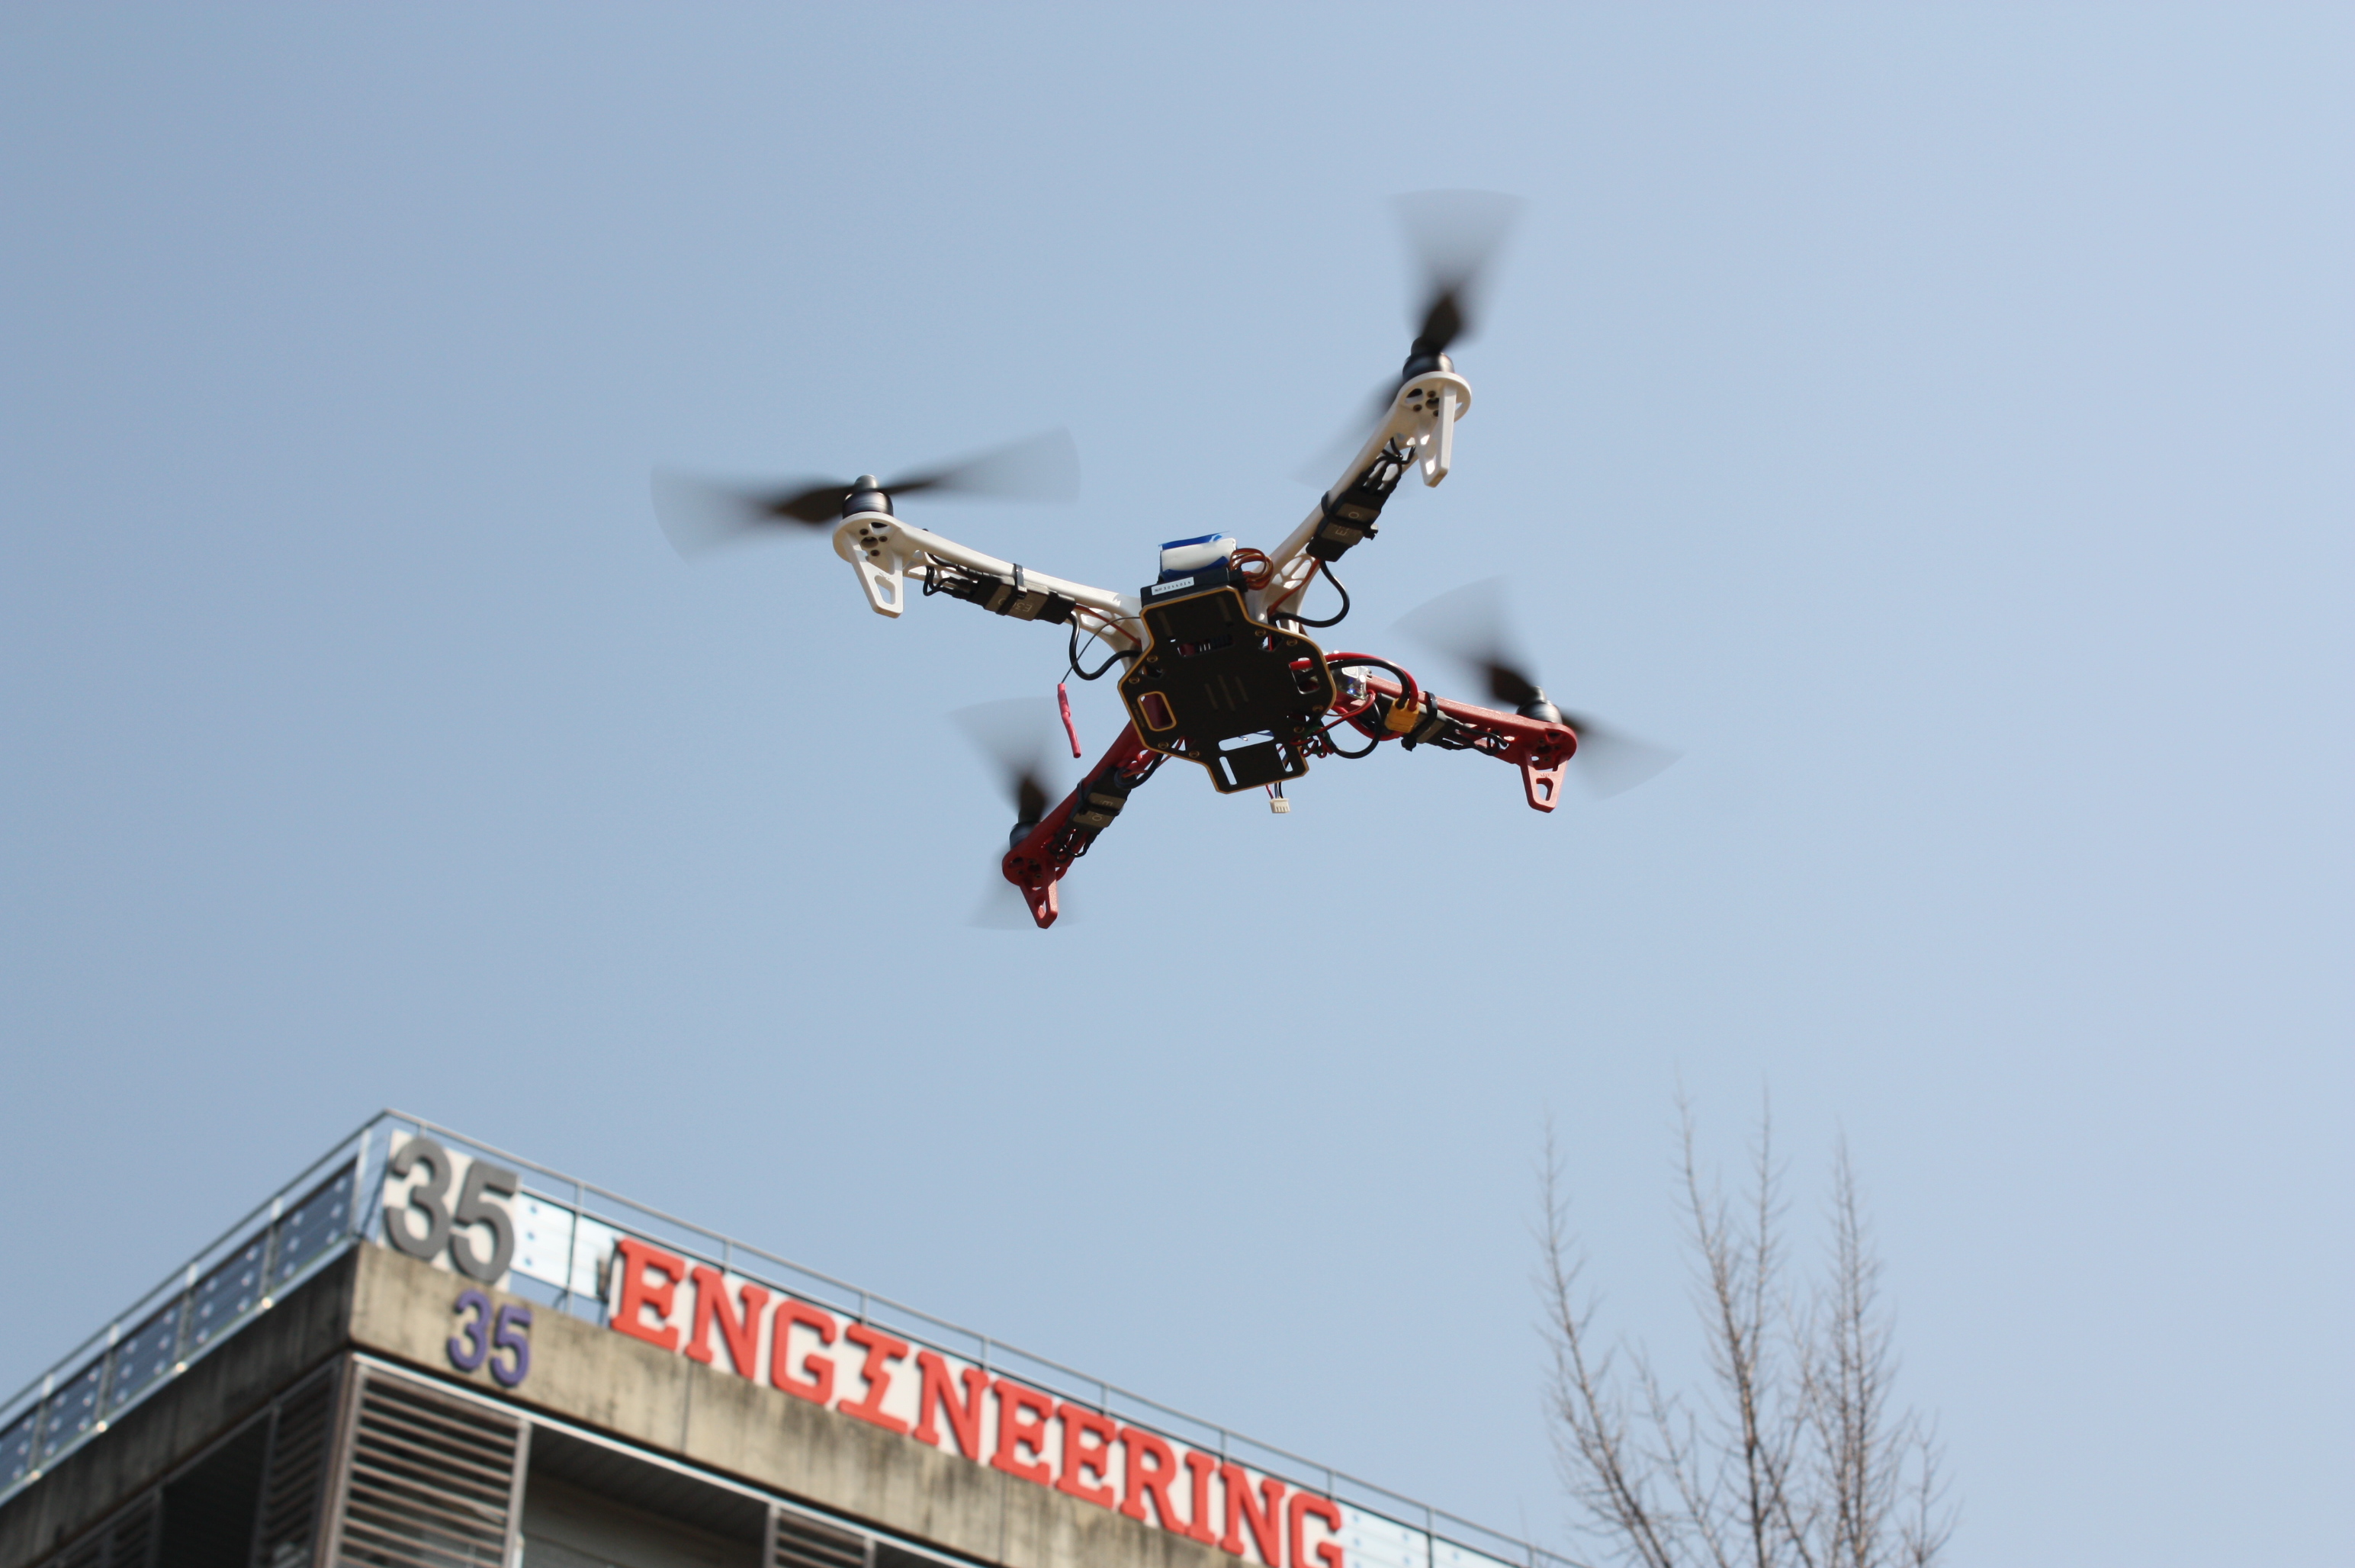
I’m really satisfied with my quad’s performance. I think using DJI’s frame kit is quite good decision.
And next time I’ll try to attach GPS and telemetry module to HKPilot controller.
You can also read this article in Korean at EastskyKang’s Blog


Pingback: Build My Own Quadcopter (나의 쿼드콥터 제작기) | EastskyKang
Pingback: Build My Own Quadcopter (Slide) | EastskyKang
Pingback: Build My Own Quadcopter | 404warehouse
Could you provide the motor models/ESCs/battery you used for your build, please? HAve you found any shortcomings or improvements you’d make in the hardware you chose? I’m starting to plan a flamewheel build and am keen to hear other’s experiences.
LikeLike
Broken links are killers of otherwise good instructionals!
LikeLike